NextPCB Capabilities
Printed Circuit Boards
NextPCB Capabilities
Printed Circuit Boards
 PCB Assembly
 Layer Buildup
 SMD-Stencils
 PCB Design-Aid & Layout
 Mechanics
 Quality
 Drills & Throughplating
 Factory & Certificate
 PCB Assembly Factory Show
Certificate
PCB Assembly Factory Show
Certificate

Support Team
Feedback:
support@nextpcb.com


The success or failure of a DXF/DWG to Gerber conversion comes down to three mechanical details: units, closed geometry, and layer mapping. Get these right, and your board will pass through the fab's CAM department with little to no query. Get any one of them wrong, and you will face dimension errors, missing copper pours, misaligned layers, or an outright rejection.
This article will explain the core logic behind DXF/DWG to Gerber conversion, why this conversion is necessary, how to handle the three non-negotiable rules, which tools are worth using, and what factory engineers check during pre-production review.
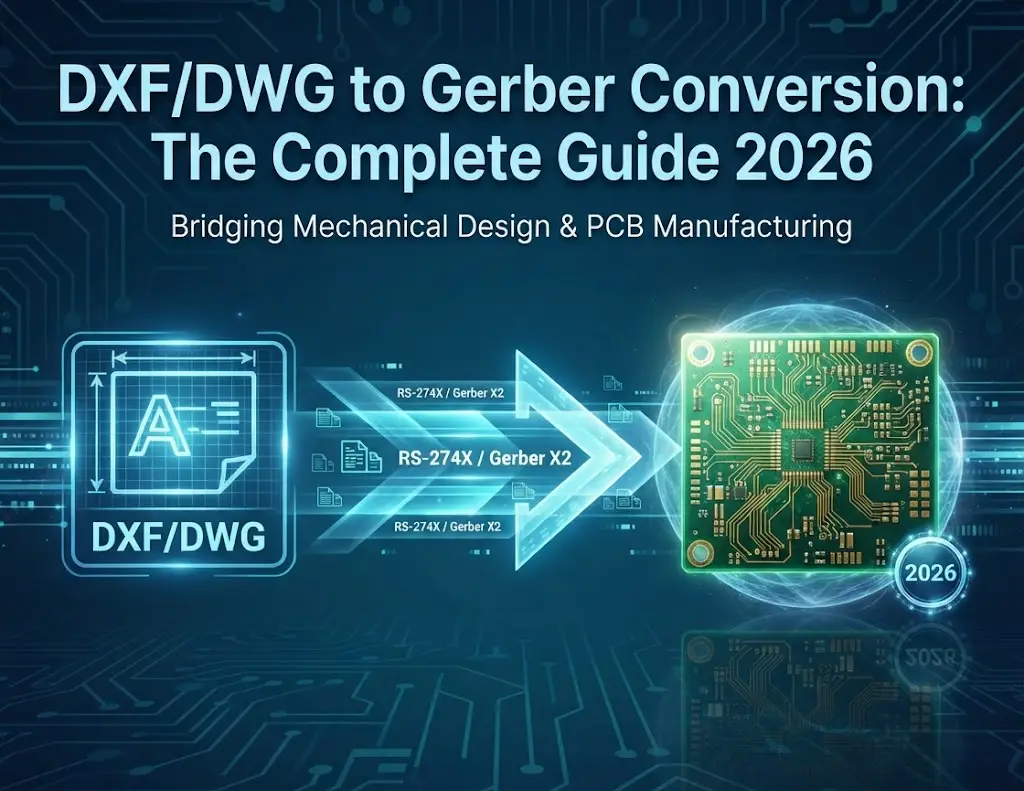
Image from gemini
Born in the early 1980s, DXF and DWG are industry-standard vector formats for computer-aided design (CAD), widely used across mechanical engineering, architecture, and industrial design.
While these formats represent "human-readable" blueprints rather than machine-ready manufacturing instructions (like Gerber), they are essential for bridging mechanical and electronic design:
Key Takeaway: DWG is ideal for native design and archiving, while DXF excels at cross-platform data exchange. Ultimately, success depends on whether your conversion tool can accurately read the file's geometry, units, layers, and coordinates.
Gerber is the definitive industrial standard in PCB manufacturing (such as RS-274X and modern Gerber X2). It contains optical plotting, aperture definitions, and geometric instructions for each layer, precisely telling the factory where to expose, where to etch copper, and where to apply solder mask.
The fundamental difference between Gerber and DXF/DWG is that Gerber data does not merely describe what a "mechanical part looks like"; rather, it describes graphics based on the specific layers required for PCB fabrication. Whatever is written in the file is exactly what the photoplotter exposes. There is no need to guess line widths, interpret fill styles, or deduce layer purposes. This is why PCB manufacturers strictly require Gerber files, and why DXF/DWG cannot simply serve as a direct replacement.
A complete set of Gerber files typically includes:
Meanwhile, drill data typically utilizes Excellon Drill format or related drilling data formats.
> Recommend reading: Gerber Files: What They Are, How to Create, View & Convert
A shape that "looks like a solid rectangle" in a DXF file could actually be a hatch pattern, a closed polyline, or a Region inside AutoCAD. While all three look identical in AutoCAD, the logic required to convert them into Gerber format is entirely different.
To make matters worse, DXF features like dimension callouts, text notes, and construction lines simply do not have equivalents in Gerber. If you convert everything blindly, your PCB manufacturer will end up with a confusing mess of stray lines.
In consumer electronics—such as smartphones, smartwatches, and TWS earbuds—board outlines are almost always designed by mechanical engineers in CAD. PCB designers need to precisely import these shapes into their EDA tools to define the board edge.
Microstrip lines, coplanar waveguides, baluns, and antennas demand extreme geometric precision. Drawing these directly in EDA tools can be cumbersome, but AutoCAD allows you to meticulously control every corner and trace width. Once the design is finalized, it must be transferred losslessly to Gerber.
The placement, geometry, and layer counts of FPC stiffeners are usually defined by mechanical engineers in CAD, then imported into EDA software to generate the corresponding Gerber layers.
Certain designs require custom-shaped copper pours embedded within the PCB for heat dissipation, EMI shielding, or specialized electrical functions. These graphics are often created in CAD first and then imported.
Converting DXF/DWG files into Gerber format can typically be broken down into the following stages:
CAD File Preparation → Unit Verification → Layer Inspection → Geometry Cleanup → DXF/DWG Import → PCB Layer Mapping → Gerber Export → CAM Inspection → Pre-Production Verification
Among these steps, the root cause of failures is rarely the "export" process itself, but rather the preliminary data preparation.
Before any conversion takes place, the DXF or DWG file must be thoroughly cleaned and organized. Most conversion failures actually stem from issues within the source file itself rather than shortcomings in the conversion tool.
Before any conversion, the DXF or DWG file needs to be cleaned and organized. Most conversion failures trace back to problems in the source file rather than the conversion tool itself.
Simplify geometry to supported entity types. Gerber only understands lines, arcs, and closed polygons—it cannot process splines, 3D objects, TrueType text, or complex hatches directly. Convert any problematic entities before exporting:
PEDIT with arc approximation)Organize layers clearly. Each PCB layer (top copper, bottom copper, solder mask, silkscreen, board outline) should live on a separate AutoCAD layer with clear, descriptive names. Non-manufacturing content—dimensions, notes, construction lines—should either be moved to layers that won't be exported or deleted entirely.
Verify units and origin. Check the drawing units (millimeters vs. inches) and ensure the design is positioned near the origin point. Set INSUNITS to 4 (millimeters) or 1 (inches) to embed the unit information.
Export as DXF using AutoCAD R12 or R2000 format for best compatibility with conversion tools.
Choose your tool – Common options include Altium Designer, KiCad (free), PADS, Allegro, CAM350, FAB3000, or ACE 3000. If you only have a simple board outline, even free tools like FlatCAM or the command-line dxf2gbr can handle the job.
Verify the source format – If your mechanical team provided a DWG file, open it in AutoCAD first and save it as DXF. Most EDA tools claim to support DWG import, but in practice, DXF is more reliable—DWG files often carry proprietary attributes that cause layer loss or geometry distortion.
Set the import unit correctly – This is the single most critical setting. Select millimeters or inches to match your source file. Do not rely on auto-detection. If you pick the wrong unit, your board will scale by a factor of 25.4.
Configure import options – In CAM350, for example: navigate to File → Import → DXF, set Scale Factor to 1:1 (no scaling), select the correct Import Unit, check Fill Closed Polylines (0 width) to convert zero-width closed polylines into solid fills, and check Make Square Lines into Polygons to handle square-ended lines properly.
Handle blocks wisely – If your DXF contains repeated elements (blocks), decide whether to keep them as blocks. Leaving blocks intact allows the Gerber output to use "Step and Repeat" codes, which significantly reduces file size. Uncheck "Explode All Inserts" during import to preserve them.
Inspect the imported geometry – After import, visually check that all shapes appear correctly. Look for missing elements, distorted curves, or unexpected extra lines. If something looks wrong, go back to the DXF cleanup step rather than trying to fix it in the EDA tool.
Layer mapping is a critical step. The conversion tool needs to know which DXF layer corresponds to which Gerber layer type.
| DXF Layer | Gerber Layer | Gerber Extension |
|---|---|---|
| TOP_COPPER | Top Copper | .GTL |
| BOT_COPPER | Bottom Copper | .GBL |
| TOP_MASK | Top Solder Mask | .GTS |
| BOT_MASK | Bottom Solder Mask | .GBS |
| TOP_SILK | Top Silkscreen | .GTO |
| BOT_SILK | Bottom Silkscreen | .GBO |
| OUTLINE | Board Outline | .GKO |
| DRILLS | NC Drill File | .DRL (Excellon) |
In CAM350, you can also combine multiple DXF layers into a single Gerber layer using the Tables → Composites function if needed. However, keeping layers separate is generally cleaner for manufacturing.
After all graphics have been correctly positioned within the PCB software and verified without errors, proceed with the format conversion.
If a PCB contains through-holes, blind vias, buried vias, or mechanical slots, the package must also include corresponding drilling and milling data. Drill data is typically provided in formats such as Excellon. Therefore, a complete and valid PCB manufacturing data package consists of:
A proper manufacturing package is a comprehensive set of files—never just a single .gbr file.
Check Your Gerber Files Online for Free
In practice, converting DXF/DWG to Gerber is far from a simple 'Save As' operation—even a slight oversight can lead to severe manufacturing failures.
A professional PCB manufacturer rarely sends a customer-submitted DXF file directly into production. Instead, CAM engineers first perform a comprehensive data inspection, which typically includes:
Verifying whether all necessary manufacturing files—such as Gerber data, drill files, and board outlines—are complete.
Confirming board length, board width, hole sizes, slot widths, and critical structural dimensions.
Ensuring there is no misalignment among:
Checking whether the design complies with the factory's process capabilities, such as:
Overlaying all layers together to verify whether the final PCB aligns with the original design intent. This step is critical because many DXF conversion errors are not obvious when viewing individual files. However, when overlaying the Top Copper, Solder Mask, Outline, and Drill layers together, these issues become immediately apparent.
The conversion from DXF/DWG to Gerber may look like a simple file format translation, but it actually bridges multiple domains: mechanical design, PCB layout, CAM engineering, and PCB fabrication.
The most common pitfalls rarely stem from software buttons themselves. Instead, they arise when units, scales, layers, geometric topologies, and the final manufacturing intent fail to align. For standard irregular board outlines, disciplined data cleanup and dimensional checks are usually enough to prevent most issues. However, for RF antennas, high-frequency circuits, flexible PCBs (FPCs), precise slotting, and complex non-standard geometries, a much more rigorous verification workflow is essential.
A reliable rule of thumb to live by:
Never assume a conversion is successful just because the Gerber file opens without errors.
What truly matters is confirming that every single critical graphic in the Gerber data matches the original design intent and complies with the factory's manufacturing capabilities.
If your PCB project requires generating production data from DXF or DWG files, it is highly recommended to complete a full Gerber visualization check and DFM review before heading into mass production. For teams with limited CAM experience, rather than stumbling through trial-and-error fixes after errors occur, having your PCB manufacturer perform a professional data check beforehand is far more effective. This not only cuts down on communication overhead but also significantly reduces the risk of costly rework caused by misaligned board outlines, slots, dimensions, or layers.
Ultimately, the most reliable bridge from CAD to Gerber isn't a single "convert" button—it is a thoroughly validated data processing workflow.
Q1: Can I save a DXF directly as Gerber from AutoCAD?
No. AutoCAD does not have a native Gerber export driver. You must export the drawing as DXF (R12 or R2000 versions offer the best compatibility) and then convert it using an EDA or CAM tool.
Q2: After conversion, my dimensions have changed – what caused that?
This is almost always a unit mismatch. Check whether the source DXF was drawn in millimeters or inches, re-import with the correct unit selected, and remeasure the reference feature. Do not apply a scaling factor as a workaround – that alters copper widths and affects impedance control.
Q3: Will DXF-to-Gerber conversion change the impedance of my RF traces?
No, provided the trace width remains unchanged. Impedance is determined by width, copper thickness, dielectric height, and permittivity. Conversion preserves width if you keep the scale at 1:1. Always verify the critical trace widths in the final Gerber viewer – that is your last line of defence.
Q4: What should I do if my design includes text or dimensions in the DXF?
Text and dimensions have no direct counterpart in Gerber. Delete or freeze those layers before exporting. If you need silkscreen text, recreate it in your EDA tool after import, using the correct font and size.
Treat DXF-to-Gerber conversion as a structured verification step, not a background task to rush through. The industry data shows that more than half of design-related manufacturing delays originate from translation errors – and almost all of those are preventable.
A practical workflow to adopt:
INSUNITS before export.Spend 10 minutes on that preview step, and you will save days of CAM queries and re-spins. The factory is not your quality control – you are. Convert with care, and your board will move from design to production without a hitch.
Still, need help? Contact Us: support@nextpcb.com
Need a PCB or PCBA quote? Quote now