NextPCB Capabilities
Printed Circuit Boards
NextPCB Capabilities
Printed Circuit Boards
 PCB Assembly
 Layer Buildup
 SMD-Stencils
 PCB Design-Aid & Layout
 Mechanics
 Quality
 Drills & Throughplating
 Factory & Certificate
 PCB Assembly Factory Show
Certificate
PCB Assembly Factory Show
Certificate
Support Team
Feedback:
support@nextpcb.com


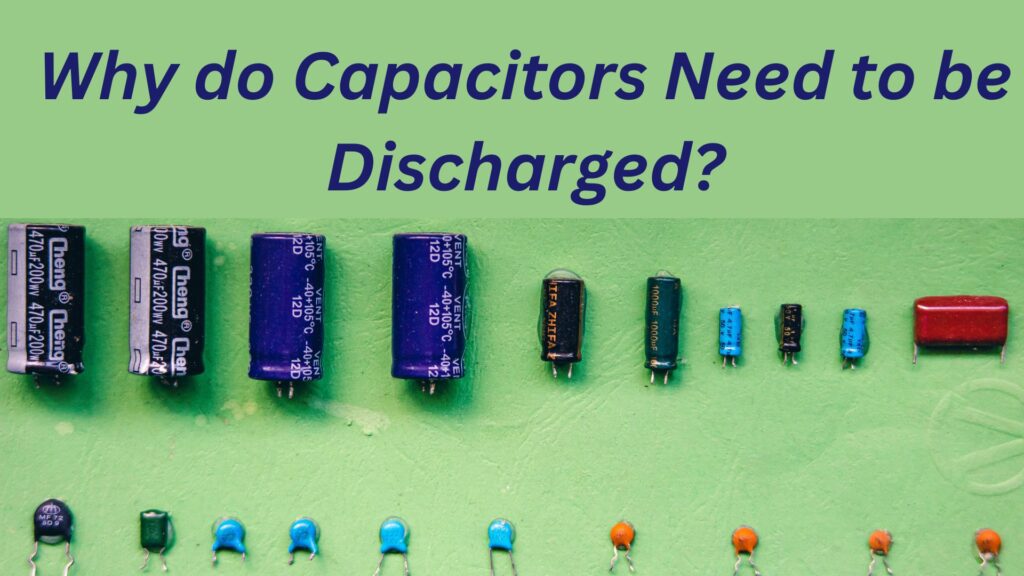
Introduction
Capacitors are essential components in electronic circuits, storing and releasing electrical energy when needed. However, it is crucial to discharge capacitors properly before handling or working on electronic devices to avoid potential hazards. In this article, we will discuss how to discharge a capacitor, the risks involved, and the step-by-step process to discharge them safely. Capacitors are fundamental components in electronic circuits, storing electrical energy and releasing it when needed. While capacitors play a crucial role in various devices, it's essential to know how to discharge a capacitor safely. Failure to discharge a capacitor properly can result in electric shocks, damage to equipment, or even injury. Our How to Discharge a Capacitor: Comprehensive Guide, discuss various methods of discharging a capacitor, the tools required, and the importance of capacitor safety.
Before we explore the intricacies of discharging capacitors, it's important to know the basics of how capacitors function. These electronic components store electrical energy in an electric field between two conductive plates separated by an insulating material. When a voltage is applied across the plates, the diy capacitor charges, storing energy that can be later released. This stored energy poses a potential risk if not properly discharged before handling or servicing electronic equipment. how to de energize a capacitor - Capacitors can retain a charge even after being disconnected from a power source. This remaining charge poses risks to anyone working on electronic devices, as accidental contact can result in shocks. The voltage and energy stored in a capacitor depend on its capacitance and the voltage applied during charging. Therefore, understanding how to safely discharge capacitors is paramount in preventing accidents and ensuring a secure working environment.
Understanding why capacitors need to be discharged is crucial for safely working with electronic devices. Capacitors store electrical energy and can retain a charge even when disconnected from a power source. Discharging is necessary to eliminate this stored energy and prevent accidental shocks or damage to components.
Capacitors are essential components in electronic circuits, necessitating careful discharge due to the residual electrical energy they can retain even when disconnected from a power source. This remaining charge poses inherent risks, ranging from electric shocks to potential damage of electronic equipment. Discharging capacitors is particularly critical during maintenance and repairs, where technicians may handle components containing charged capacitors. Neglecting this crucial step can compromise the safety of individuals working on electronic devices, emphasizing the need for comprehensive safety protocols and the incorporation of proper capacitive discharge procedures into standard operating practices.
Get Free Shipping On Electronic Components
Before delving into the methods of discharging capacitors, it's essential to prioritize safety. Always wear appropriate protective gear, such as insulated gloves and safety glasses. Ensure the equipment is disconnected from the power source, and double-check that the capacitor is discharged before handling it.
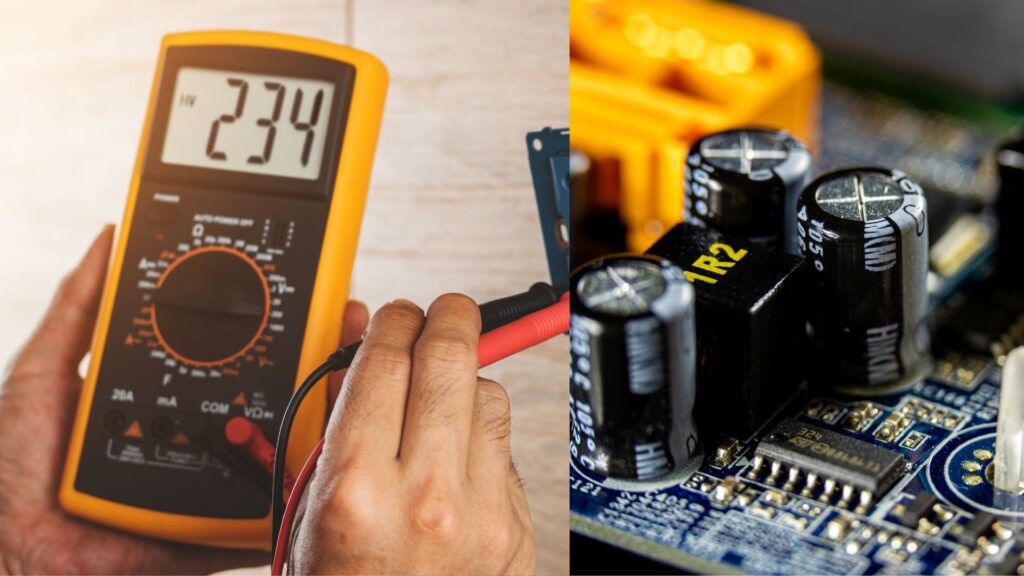
Discharging a capacitor is important for staying safe when dealing with electronic stuff. Capacitors store electrical energy, and even if you unplug them, they can still have some electricity hanging around, which could give you a shock. To get rid of this leftover electricity safely, you can use different methods. One helpful tool is called a multimeter. Now, don't get confused – the multimeter doesn't actually zap away the electricity. Instead, it checks how much electricity is still in the capacitor. This is crucial because it helps you pick the right way to get rid of that leftover charge.
The fundamental steps for discharging a capacitor are outlined below:
By following these steps, individuals can safely and accurately discharge a capacitor, mitigating the risks associated with residual charges. Always prioritize safety by adhering to these guidelines and using the proper tools to carry out capacitor discharge procedures.
One common method involves using a metal object, such as a screwdriver, to short-circuit the capacitor terminals. This allows the stored energy to dissipate safely. However, this method requires caution to prevent short circuits and sparks. Using a metal object, like a screwdriver, to discharge a capacitor is a common method when you don't have specialized tools. The goal is to get rid of any leftover electrical charge in the capacitor to keep things safe. Here's a simple steps:
Remember, safety is the top priority. Always double-check that everything is turned off, use an insulated screwdriver, and be cautious throughout the process. Discharging a capacitor with a metal object is a handy DIY method, but it's crucial to follow these steps carefully to avoid any accidents.
A bleeder resistor is a resistor connected across the capacitor terminals to facilitate a slow and controlled discharge. This method is effective for capacitors with high voltage ratings, minimizing the risk of sparks. By using a bleeder resistor you can safely discharge a capacitor, especially when dealing with higher voltages. This technique provides a controlled way to let the stored electrical charge out. Here's a simple guide on how to do it:
Connecting a light bulb in series with the capacitor creates a discharge path. As the capacitor discharges, the bulb gradually dims until it goes out, indicating a complete discharge. This method provides a visual cue of the discharge process. Steps for discharging a capacitor using a light bulb :
Specialized capacitor discharge tools are available for safely discharging capacitors. These tools are designed to handle various capacitor types and offer a controlled and efficient discharge process. Here's a simple guide on how to discharge a capacitor using a discharging tool:
In conclusion, understanding how to discharge a capacitor or how to de energize a capacitor is vital for electronics enthusiasts. This comprehensive guide, covering methods like using a screwdriver, bleeder resistor, light bulb, or specialized tool, underscores the importance of safety, how long do capacitors hold a charge, accuracy, and methodical execution. The journey emphasizes fundamental principles, discharge a capacitor with a screwdriver, how to discharge capacitor with multimeter from powering off to rechecking for residual charge. With technology advancements, a dynamic approach to safety is crucial. Safety must be the guiding principle, ensuring innovative endeavors are both secure and reliable in the intricate landscape of electronics.
- How To Read Electrical Schematics
- 12 Commonly Used Components on PCBs for Beginners
- Free Worldwide Shipping on Over 600,000 Electronics Components with HQ Online
- Free PCB Assembly Offer is Now Live: Experience Reliable PCB Assembly from HQ NextPCB
- HQ NextPCB Introduces New PCB Gerber Viewer: HQDFM Online Lite Edition
Still, need help? Contact Us: support@nextpcb.com
Need a PCB or PCBA quote? Quote now


 Surface