
 NextPCB Capabilities
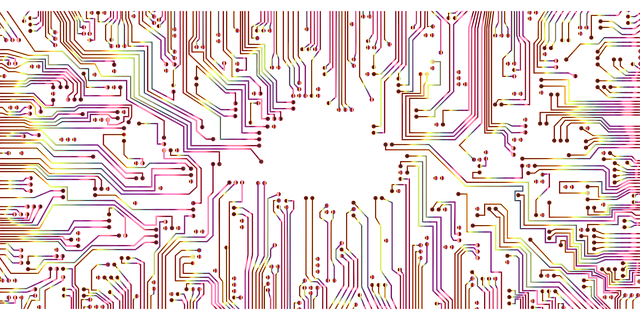
Printed Circuit Boards
NextPCB Capabilities
Printed Circuit Boards
 PCB Assembly
 Layer Buildup
 SMD-Stencils
 PCB Design-Aid & Layout
 Mechanics
 Quality
 Drills & Throughplating
 Factory & Certificate
 PCB Assembly Factory Show
Certificate
PCB Assembly Factory Show
Certificate
Support Team
Feedback:
support@nextpcb.com


Offered in a selection of dimensions and also shades, print circuit boards are utilized in creating electric circuit jobs. The boards, made up of glass-reinforced plastic, include copper lines to lead you in position elements consisting of resistors, incorporated circuits, capacitors as well as various other electric elements. The boards, offered from digital components shops and also online, featured or without openings for positioning parts. Acquiring a bigger motherboard and also reducing them allows you to develop several circuits without the expenditure of purchasing specific boards.
4. Line up the side of the print circuit board plumb with the leading side of the paper cutter or straighten the board plumb with the overview on the table saw.
5. Location one hand on the print circuit board. Weigh down on the board to maintain it from relocating. Takedown the reducing blade vigorously to reduce the print motherboard. If making use of a table saw, switch on the saw as well as feed the print circuit board with the saw.
Still, need help? Contact Us: support@nextpcb.com
Need a PCB or PCBA quote? Quote now


 Surface

