
 NextPCB Capabilities
Printed Circuit Boards
NextPCB Capabilities
Printed Circuit Boards
 PCB Assembly
 Layer Buildup
 SMD-Stencils
 PCB Design-Aid & Layout
 Mechanics
 Quality
 Drills & Throughplating
 Factory & Certificate
 PCB Assembly Factory Show
Certificate
PCB Assembly Factory Show
Certificate
Support Team
Feedback:
support@nextpcb.com


A keyboard is a piece of peripheral equipment that lets users enter text into computers and other electronic devices. The simplest method for a user to interact with a computer is through the use of a keyboard, which is an input device. Although the keys or letters are organised in order to serve as electronic switches, this device is modelled after its predecessor, the typewriter, which gave the keyboard its layout. The keys contain punctuation, alphanumeric, and special keys with specified roles, such as the Windows key and different multimedia keys.
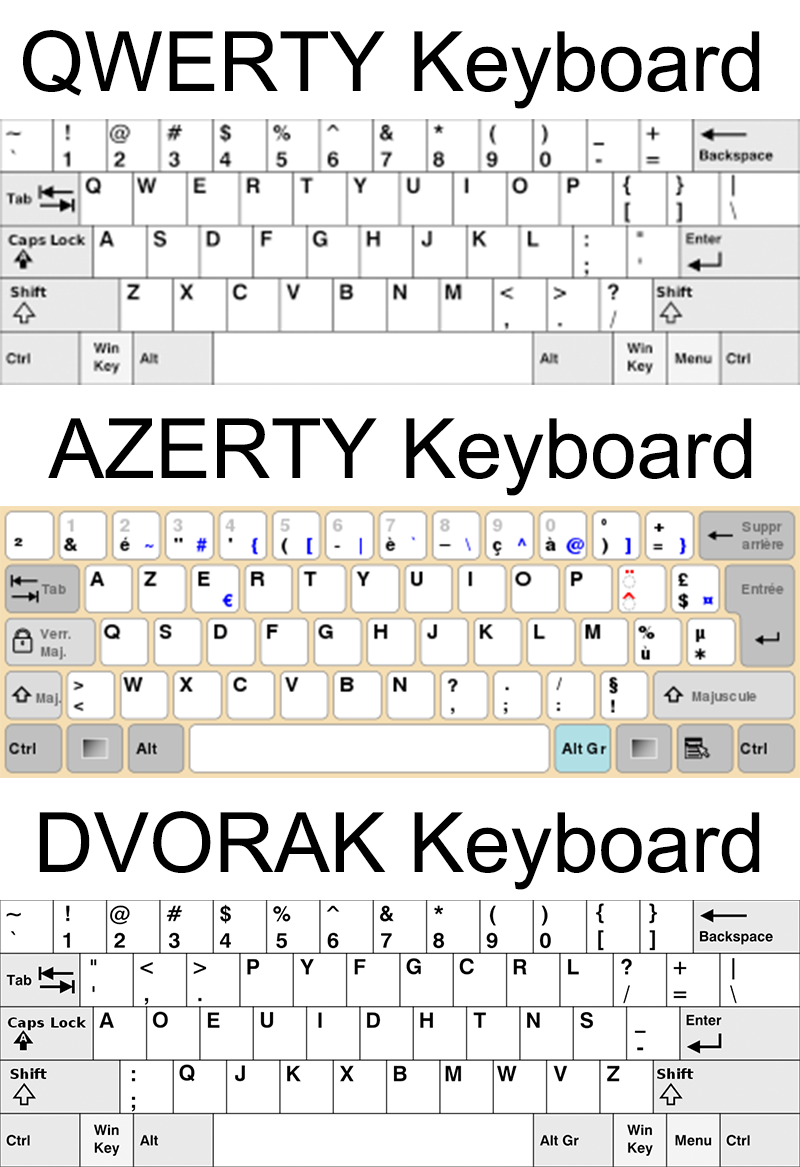
There are many types of keyboards, and they depend on the region and language spoken.
This article will discuss how we can make a keyboard at home according to our choices. This will follow some steps to achieve the goal.
Under this step, you have to identify the best appropriate keyboard for you. For example, the size of the keyboard, layout size, and colour are factors that depend upon the user's choice.
This makes it quite difficult to select the correct size because you need to know what each size entails and whether or not you find it comfortable.
Here is a quick list of every keyboard size available:

The core of your keyboard is the PCB. Your keyboard's size, features, and layout are all governed by the PCB you select. Choose carefully.
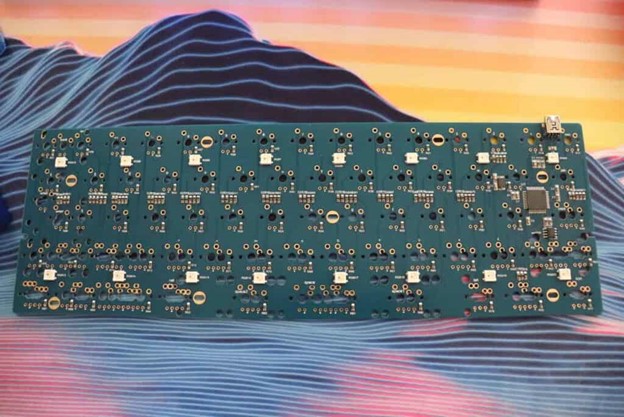
The PCB, which defines the keyboard's size and functions, is the most crucial part of the keyboard. The printed circuit board (PCB) is positioned inside the case and enables the communication between the switches and your computer. The metal plates of a switch make contact when it is pressed, signalling to the computer that a keystroke has been recorded. There are three different PCB kinds to watch out for: standard, hot-swappable, and through-hole.
How interested you are in soldering will determine which of the three types you choose.
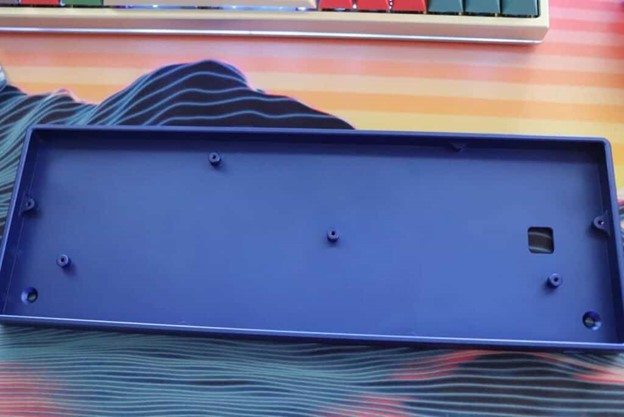
All the elements in the keyboard hold together with the help of the case. Depending on how tough, attractive, or transparent you want your keyboard to be, you can select different case materials.
Depending on what you need, there are a ton of various mounting options and materials available. It all comes down to selecting the case that works best for your configuration. The most popular cases are made of plastic since they are the simplest and least expensive to make. A metal plate that supports the case's structure is typically included with plastic cases, which are typically composed of ABS (acrylonitrile butadiene styrene) plastic. Plastic is not the best material type by any means because it is prone to instability and rattling and lacks a hard and sturdy construction like an aluminium or metal case would. For individuals on a tight budget or who desire a lighter, more portable keyboard, a plastic case is ideal.
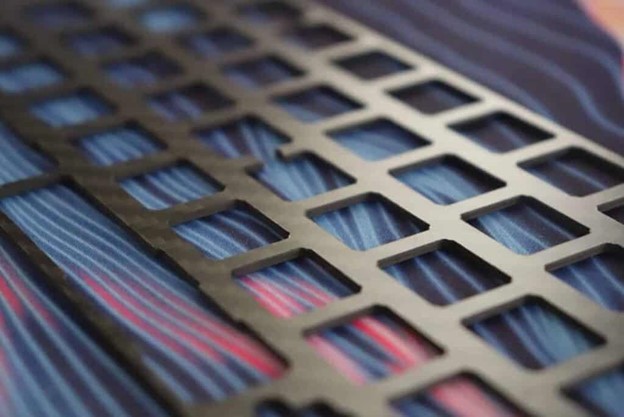
Although the plate is an optional part, it adds rigidity to the overall construction and holds the switches in place. Definitely advised. Different materials and colour options are available.
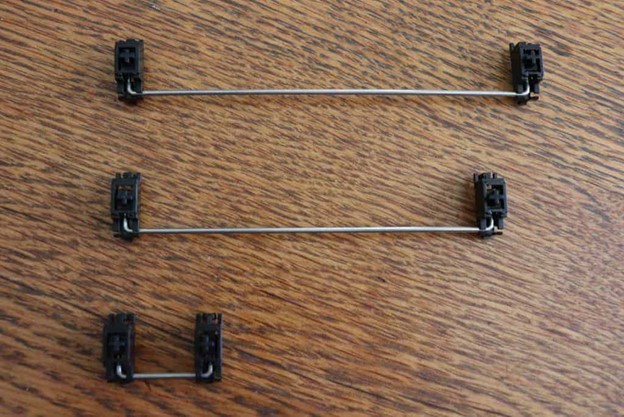
Stabilizer controls, the keyboard's larger keys' feel and sound. This element is crucial, so don't forget about it. The stabilizers prevent the larger keys on your keyboard from tipping over. The stabilizers cause the best typing experience and the ideal "thock" sound. The choice of stabilizer depends upon the PCB/plate compatibility.
The switches are essential for adjusting the keyboard's tone and feel. Although there are many distinct switch kinds, they divide into three groups: linear, clicky, and tactile.
The best switch to choose is mostly determined by your preferences.
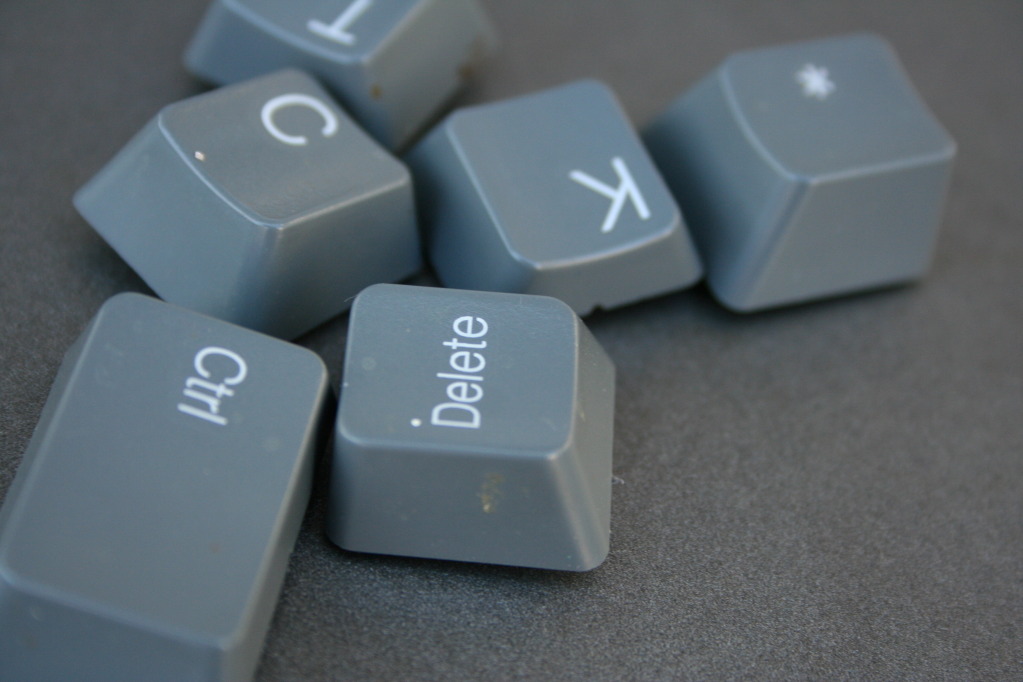
This section primarily establishes the look of your board. You'll be engaging with the keycaps the most when you sit down to type. The keycaps' profile, design, and endurance are crucial.
Above mentioned parts are the most important parts to design a keyboard. So in order to design your own keyboard, the above items are necessary.
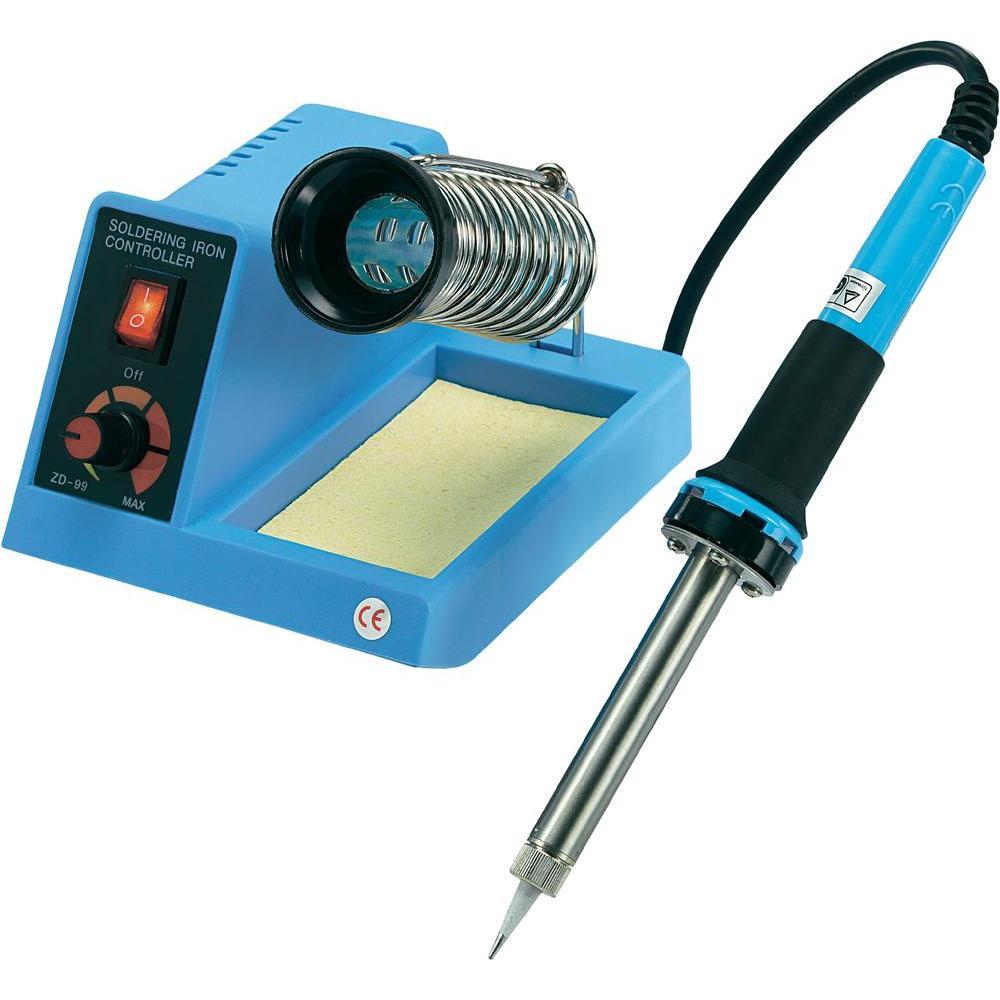
Solder iron is useful for the soldering of the parts to the PCB. Better if you can use a heat-controlled soldering iron. The heat-controlled soldering iron will help you to solder the parts very carefully without damaging the SMDs in the PCB.
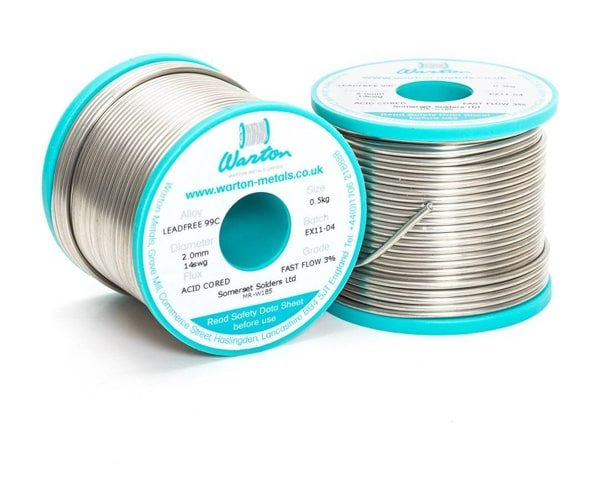
Solder is necessary. Switch desoldering is made much simpler by the presence of lead solder. When not in use, it's a good size and simple to store.
a lot more user-friendly than the metal switch pullers that come with hot-swappable boards. Additionally, it comes in a pack or two so you may use the keyboard in other locations.
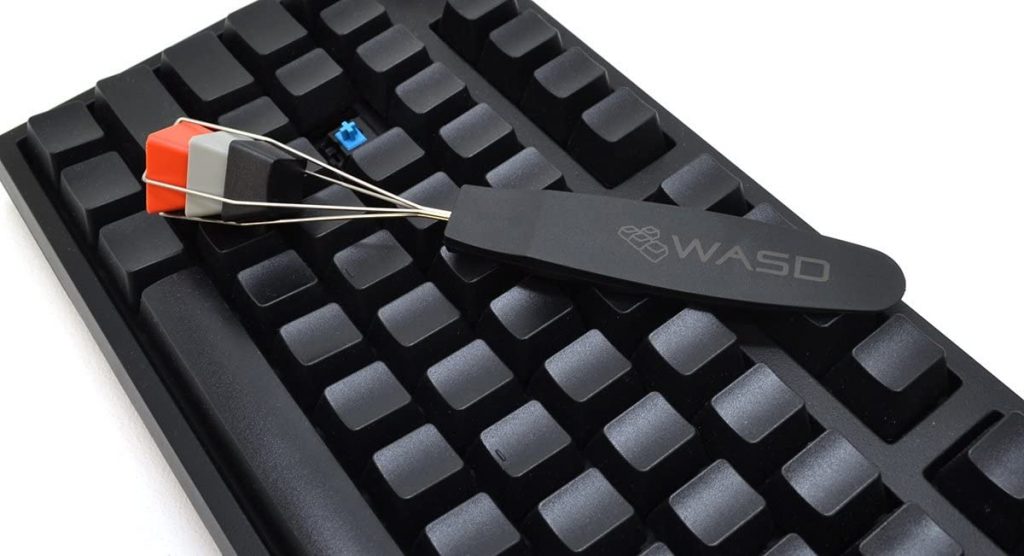
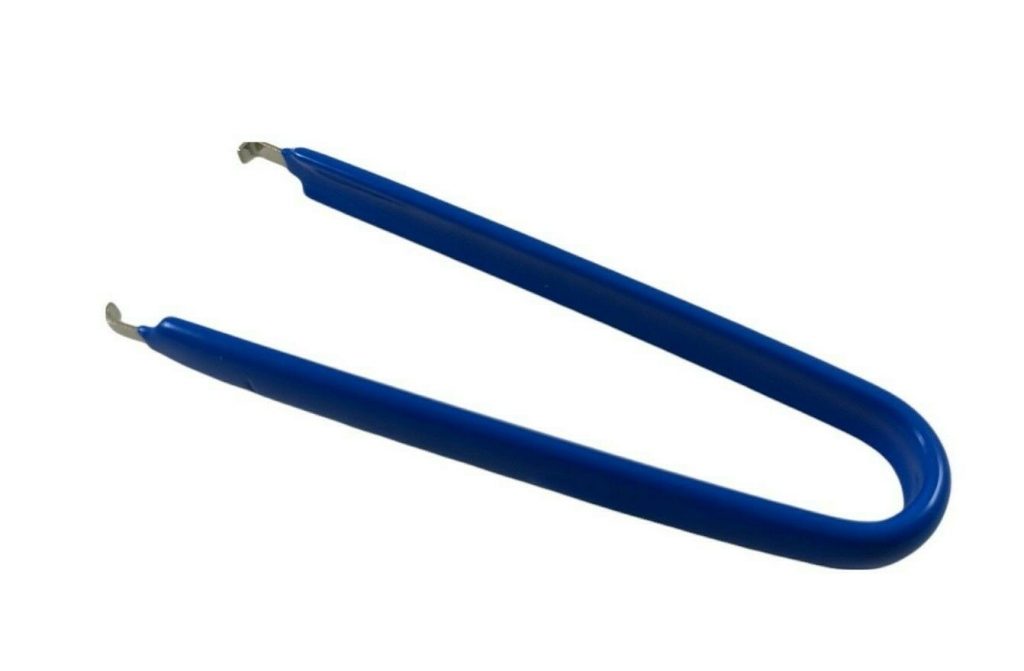
You can swiftly change keycaps using a wire keycap puller rather than trying to touch them with your fingers, and it won't scratch your keycaps.
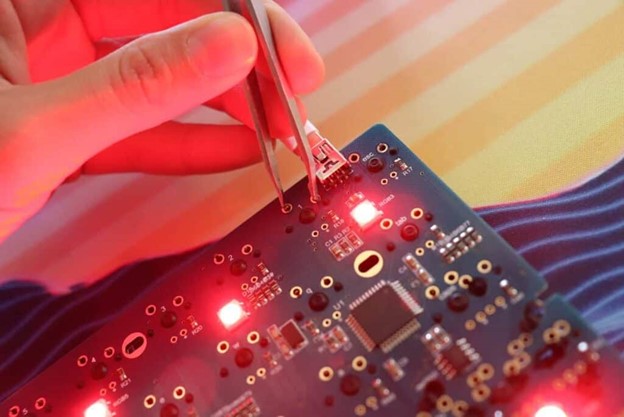
Making sure your PCB is functional should be your first priority. This can be done by connecting it to your computer and using tweezers to test each switch.
You may verify that everything is functional right out of the box and that you didn't receive any flaws by testing the PCB. For verification purposes, you can use an online keyboard tester site.
Normally this is the hardest step. That's because so many errors can happen here. It's better if you can make the stabilizers in an order according to the layout and start fixing them. Once you end the soldering process, it will be hard to move the stabilizers and correct them again So double-checking is important here.
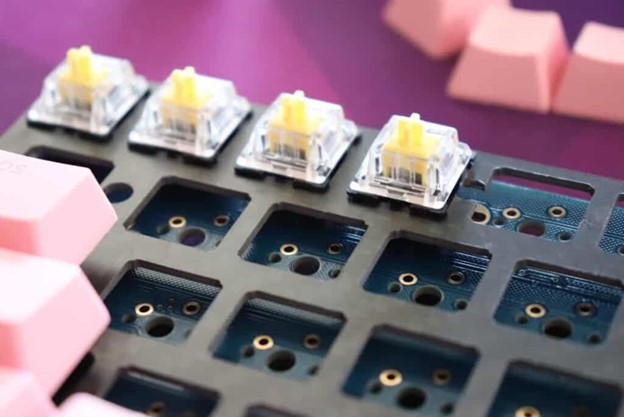
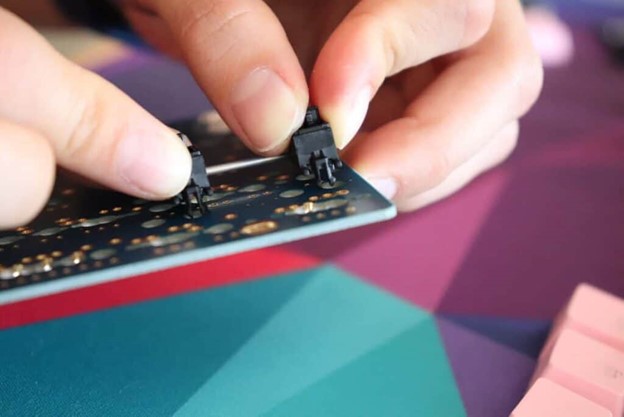
Now is the time to plan where the switches will go. To allow the pins to enter the PCB, you must press the switches into the plate.
Please remember the plate.
You'll have to go back and remove all of the switches again if you forget the plate.
In this phase, you want to make sure nothing is misplaced and that none of the pins is bent.
The pins are quite prone to bending when fixing switches on to the PCB. If so, you'll need to use tweezers to straighten them again before trying again.
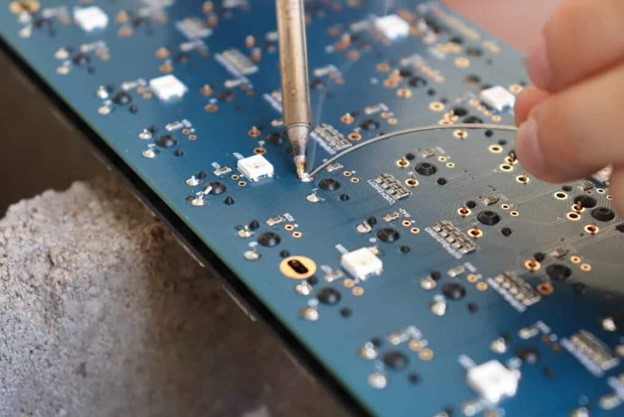
Unless you have a hot-swappable PCB you have to do the soldering of the switches. Soldering of the switches is a very important part. It is better if you can understand the basics of soldering. The main thing is soldering should make them stable and should not make the solder point short-circuited. Undergoing proper tutorials for soldering will help you a lot in this step.
It's time to put the PCB into the case that has the switches and stabilizers on it.
This step may alter depending on the mounting method used for the case.
The majority of the time, assembly simply entails putting the PCB into the case, however, your keyboard should come with some straightforward assembly instructions. After installation, you must ensure that the PCB is centred inside the casing and is completely stable.
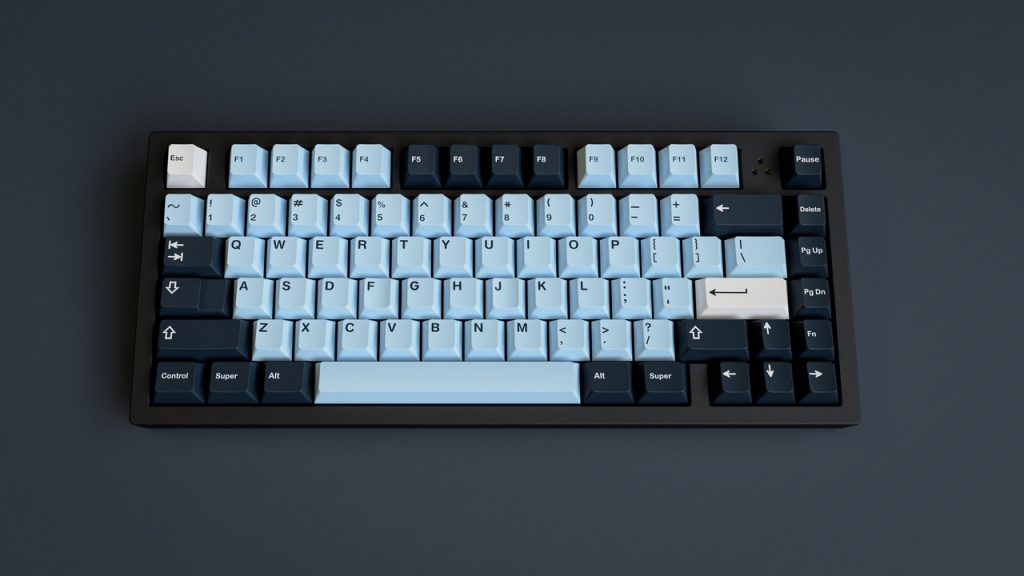
Everything starts to come together with the keycaps. It's a pretty thrilling procedure.
Although adding keycaps is a reasonably easy process, you can find the key locations online by looking up a completed construction if you're unsure of where the keys should go.
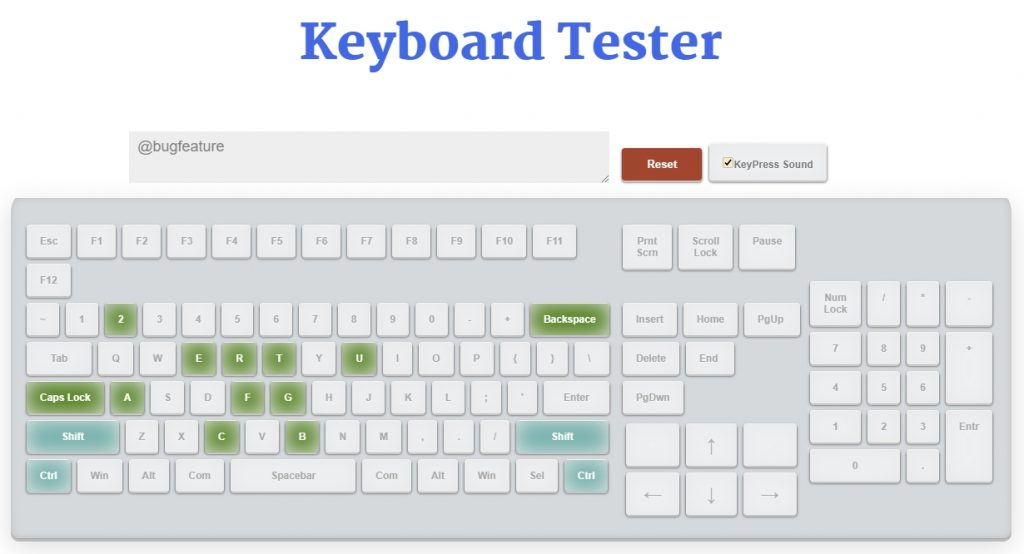
Once you have done fixing the necessary parts, the last step of this process is to test the functionality of the keyboard. For that, you can use an online keyboard tester and check whether the functionality of the keyboard is at a precise level. Once you passed this step you are good to go.
Building your own keyboard allows for a lot of customization options, from the size and layout to the switches and keycaps. However, one important aspect to consider is the PCB design. To ensure your PCB design is accurate, it can be helpful to use a Gerber viewer. NextPCB offers a great option for this with their free gerber viewer online. By using a reliable Gerber viewer, you can ensure that your PCB design is correct before sending it off for manufacturing. This is just one of the many ways in which building your own keyboard can be a rewarding and enjoyable experience, with the added benefit of a highly personalized and user-friendly end product.
Still, need help? Contact Us: support@nextpcb.com
Need a PCB or PCBA quote? Quote now


 Surface

