The Principles Behind an RF Detector
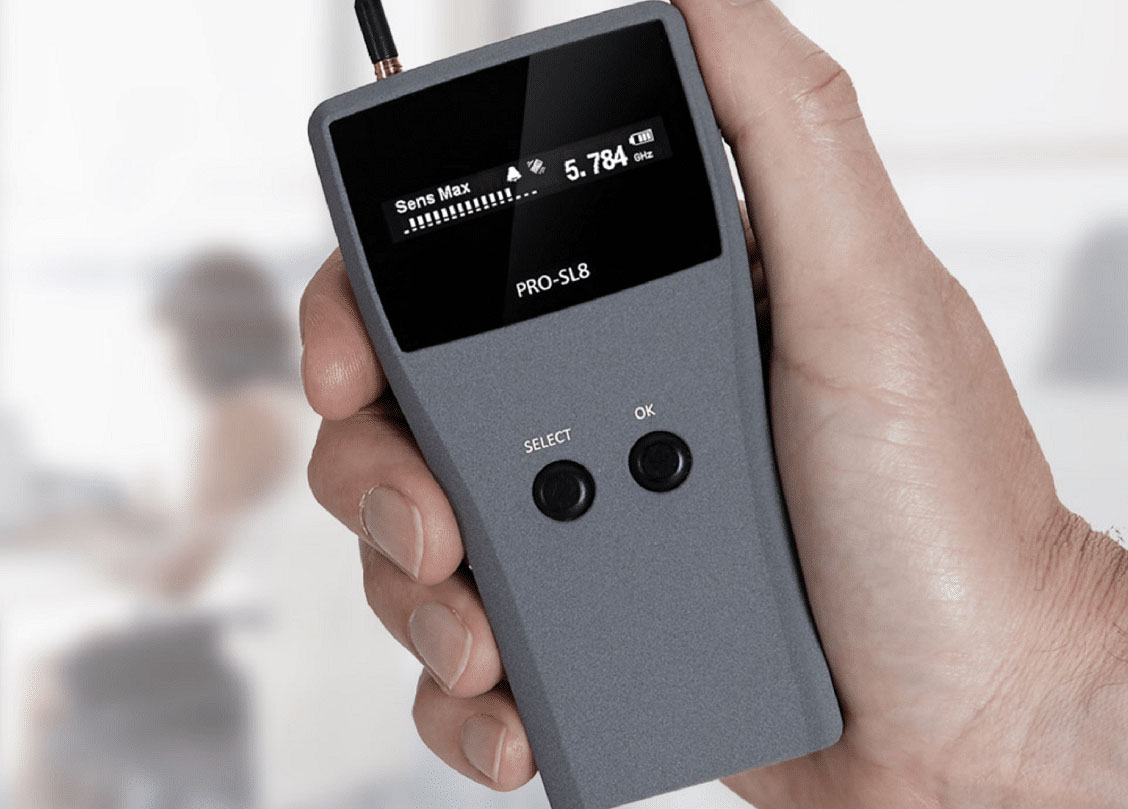
An RF detector is a handy tool that can detect and identify any radio frequency signals in the area. From wireless networks to cell phones, it has the capability of uncovering all sorts of useful data! The principles behind how an RF detector works can be explained as follows:
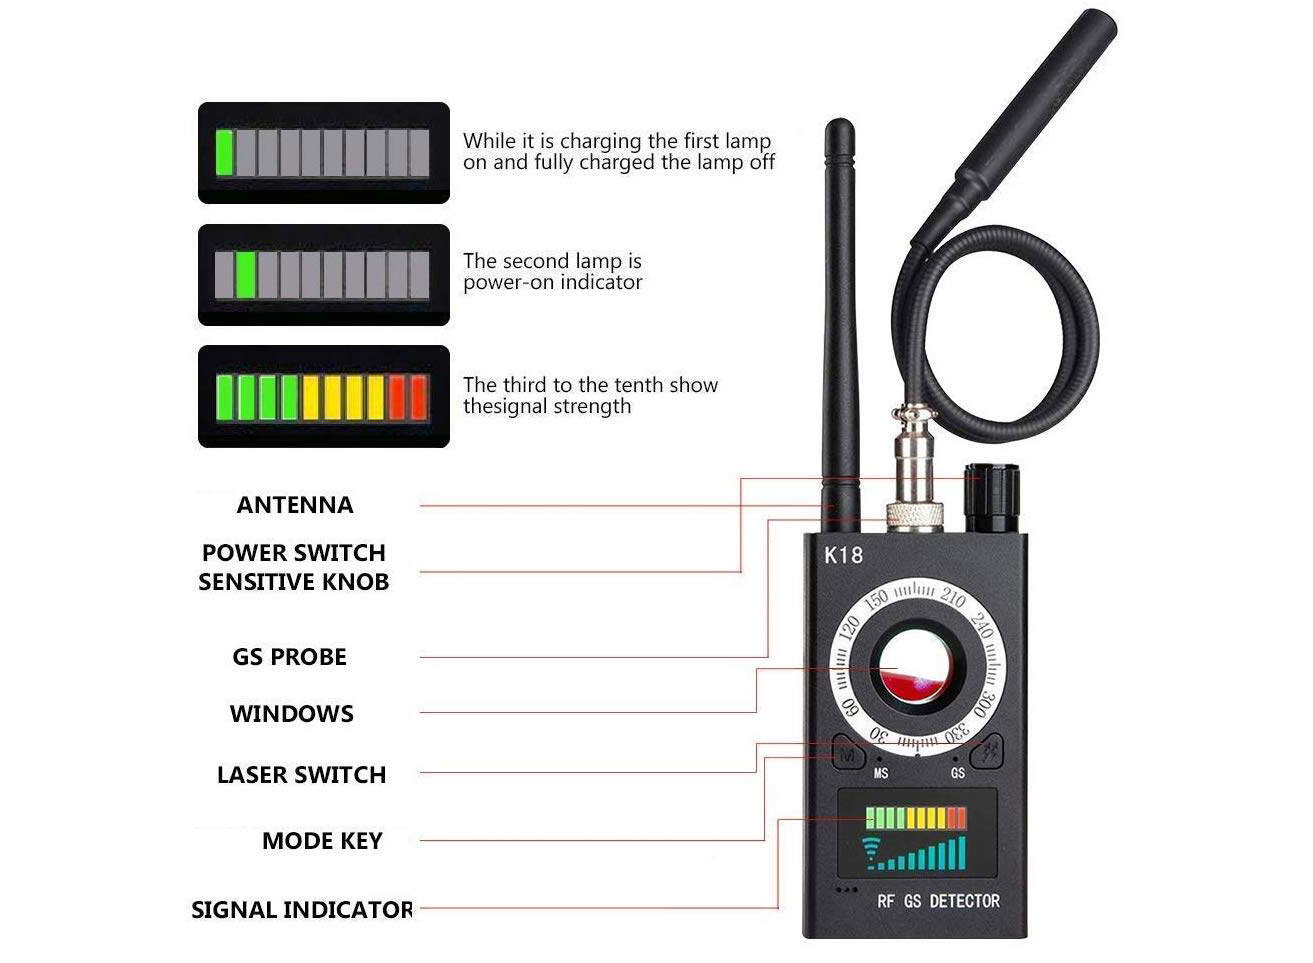
- Sensing element: An RF detector requires a sensing element, which is typically an antenna. When an RF signal is present in the environment, it causes a small current to flow through the antenna.
- Rectification: The current generated by the antenna is typically an AC (alternating current) signal, which cannot be directly measured. Therefore, the next step is to rectify the AC signal into a DC (direct current) signal. This is typically done using a diode or a rectifier circuit.
- Filtering: After rectification, the DC signal may still contain some unwanted noise or interference. To remove this, a filter circuit is often used to smooth out the DC signal and eliminate any unwanted components.
- Amplification: The output of the filter circuit is typically a very small DC voltage, which may need to be amplified in order to be useful. This is typically done using an amplifier circuit, which boosts the voltage and makes it easier to measure.
- Output: The final output of an RF detector is typically a DC voltage that is proportional to the strength of the RF signal that was detected. This voltage can be measured using a voltmeter or other measuring device.
An RF detector is a precise device, that utilizes an antenna to sense radio frequencies. After removing background noise and amplifying the signal, it produces a DC voltage in proportion to the strength of that frequency - allowing for accurate detection results thanks to excellent component quality along with meticulous circuit design.
Components Needed for Building an RF Detector
To build an RF detector, you will need a number of circuit board components. Here are some of the key components that you'll need:
- Antenna: The antenna of the RF detector plays an essential role in locating the desired signal. When determining which type to pick, it is important to consider both the frequency range and power of the RF signal you wish to detect.
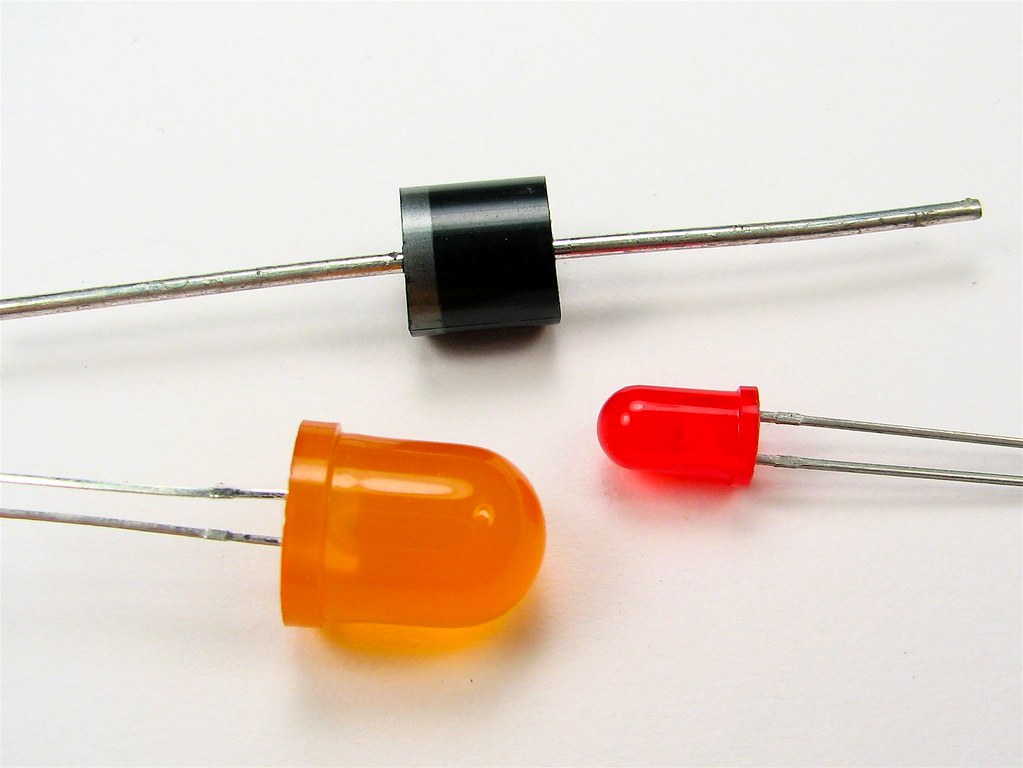
- Diode: The diode is used to rectify the AC signal from the antenna into a DC signal that can be measured.
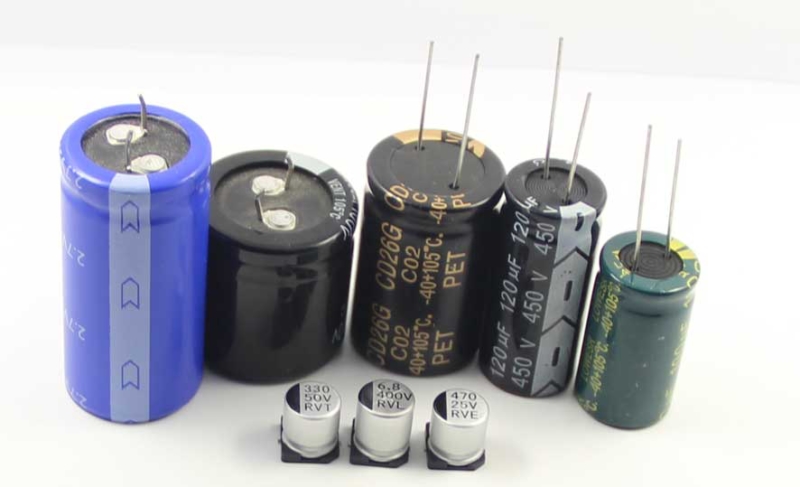
- Capacitor: By employing capacitors in an RF detector, undesirable noise, and interference can be barred from the signal.
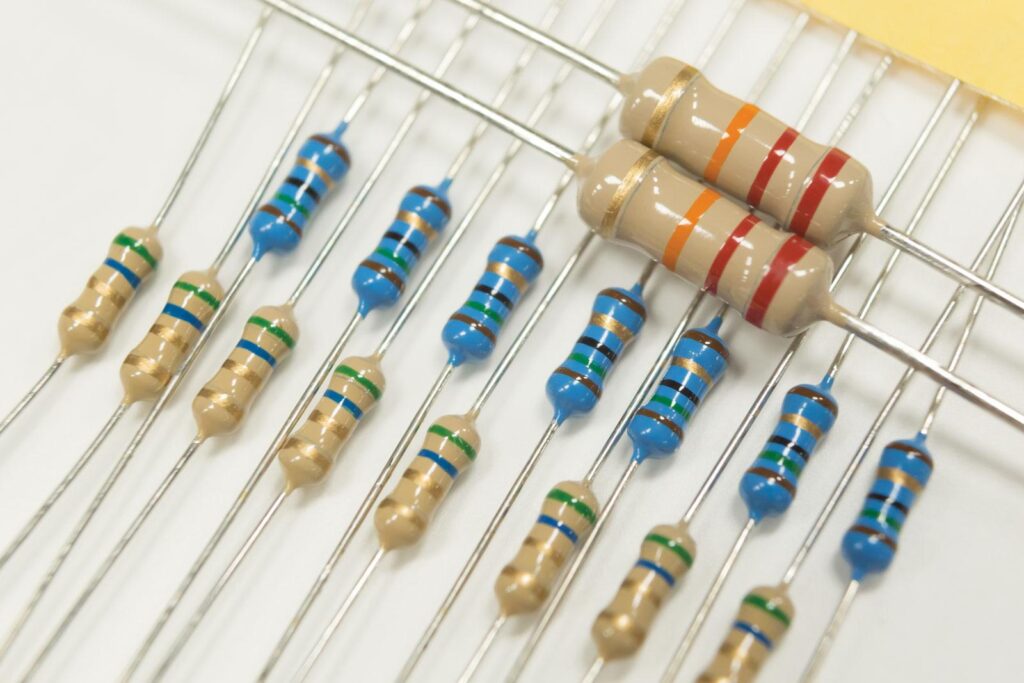
- Resistor: Resistors are used to limit the current in the circuit and to provide biasing for the transistor.
- Transistor: The transistor acts as a booster for the signal, granting it the capability to switch on and off the LED.
- LED: A bright LED lights up the circuit to denote when an RF signal has been discovered.
- Power source: A battery or energy source delivers the required voltage and current to energize a circuit's operation,
The specific values and types of components you will need will depend on the specific circuit design you choose. Achieving the desired levels of RF detection depends on selecting components that are up to the task. Selecting superior-quality parts which have been designed for your target frequency and signal strength will ensure an optimal result. You should also follow the recommended operating parameters for each component to ensure that the circuit operates correctly and safely.
Step-by-step Instructions for Building an RF Detector
Here are some general step-by-step instructions for building a basic RF detector:
Materials:
- Antenna (can be a simple wire
- Germanium diode (e.g. 1N34A)
- Capacitor (e.g. 0.1uF)
- Resistor (e.g. 4.7k ohm)
- Transistor (e.g. 2N3904)
- LED
- Battery (e.g. 9V)
Tools:
- Soldering iron
- Solder
- Wire cutters/strippers
- Pliers
- Breadboard (optional)
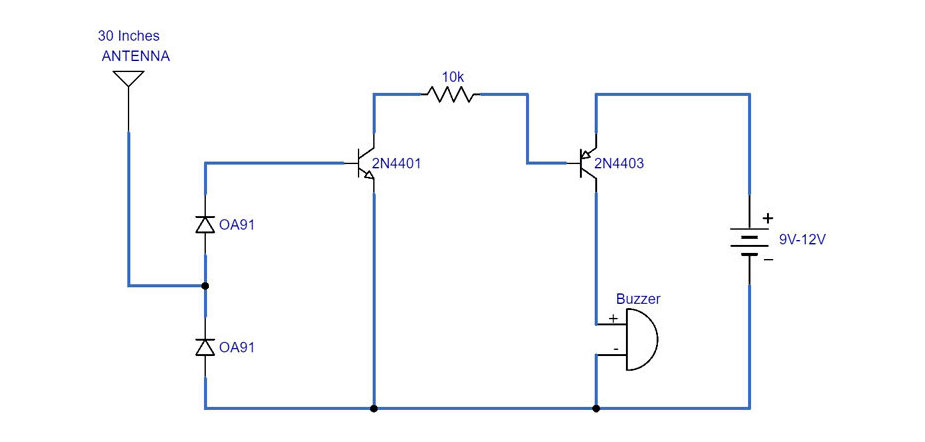
Instructions:
- Securely attach the antenna to the positive side of the diode, then connect the negative end of said diode to its corresponding capacitor.
- Connect the capacitor's other end to the transistor base, and attach the transistor emitter to the ground (such as a negative battery terminal).
- Use a 4.7k ohm resistor to bridge the connection between the transistor's base and the positive battery terminal for optimal performance.
- Connect the collector of the transistor to one leg of the LED, and connect the other leg of the LED to the positive battery terminal.
- To power, the circuit, link the negative battery terminal to the ground and connect the positive battery terminal to a resistor.
- To test the circuit, hold the antenna near an RF source (e.g. a radio or cell phone), and the LED should light up when it detects the signal.
It is essential to be cognizant of the safety risks that are associated with RF radiation and take proper measures when constructing or using an RF detector. This particular circuit may need additional components, such as resistors and capacitors, in order to reach maximum accuracy for your needs. Keep this in mind while building so you can experience its full potential!
Tips for Testing and Troubleshooting
Here are some tips for testing and troubleshooting an RF detector:
- Use a known RF source: Put your RF detector to the test and ensure it is working properly with a trusted signal source such as an active radio or cell phone. This will help gauge sensitivity, accuracy, and whether your detector can detect signals as you expect.
- Check the power source: Prior to activating the circuit, confirm that the power source is delivering both appropriate current and voltage in order for it to function correctly. When the current or voltage of a circuit is too high or too low, it can detrimentally interfere with its operation.
- Check the connections: Make sure that all the connections between components are secure and soldered properly. Loose or poorly soldered connections can cause the circuit to malfunction or not work at all.
- Check the components: Ensure your circuit's components are functioning with precision by testing them with a multimeter. Measure resistance, capacitance, and other properties to maximize the performance of the system.
- Adjust the sensitivity: To enhance the sensitivity of a detector, components may need to be adjusted in order to maximize the effect. As an illustration, you could raise the capacitor's worth or reduce the resistor's value.
- Shield the circuit: To block out the noise of nearby radio signals, you may need to shield your circuit. A metal enclosure or shielded cable can act as a barrier against RF interference and provide reliable protection for sensitive circuitry.
- Use an oscilloscope: If you're having difficulty spotting what is wrong with the circuit, an oscilloscope may be your saving grace. With this device at your disposal, you can evaluate and observe the RF signal's waveform to detect any irregularities or deformities. Let an oscilloscope help you pinpoint the source of failure in no time!
Applications of an RF Detector
An RF detector can be used in a variety of applications, some of which include:
- Wireless communication: A RF detector is a useful tool in determining the proximity, intensity, and type of wireless signals like Wi-Fi, Bluetooth, or cellular. Therefore, this can be useful for optimizing wireless network performance or identifying areas with poor wireless coverage.
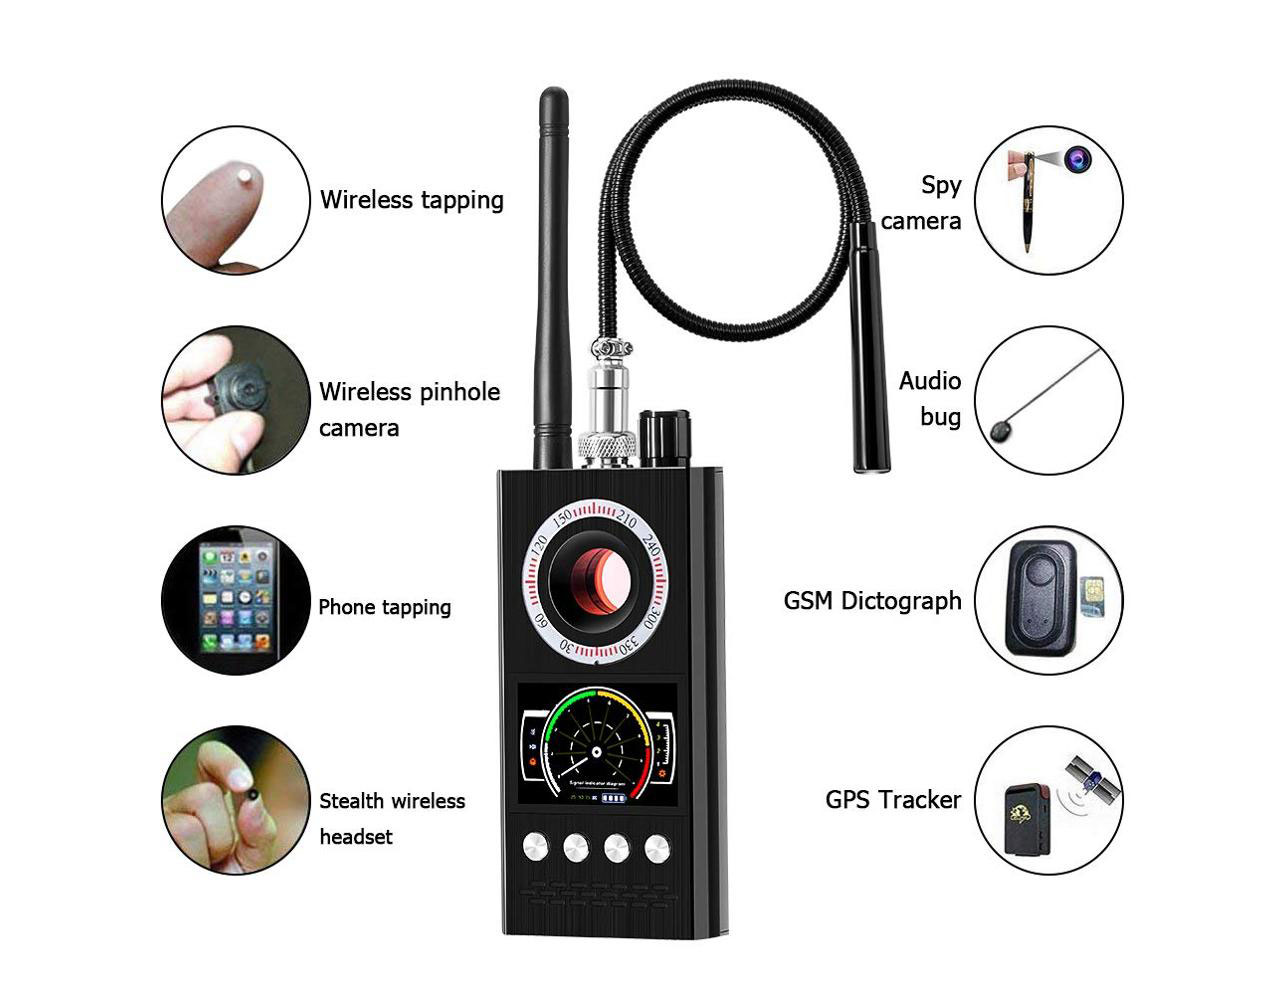
- Security and surveillance: For those concerned about potential hidden cameras or listening devices, an RF detector can be employed to detect the presence of radio frequencies (RF) being sent from such intrusive gadgets.
- Medical equipment: With the help of an RF detector, medical personnel can ensure that sensitive equipment such as MRI machines and pacemakers are free from radio frequency interference. This provides extra assurance of the safety of patients who utilize this technology for their care.
- Environmental monitoring: An RF detector can be used to monitor electromagnetic pollution or interference in the environment, such as from power lines or radio towers.
- Amateur radio: An RF detector can be used by amateur radio enthusiasts to tune their antennas. Furthermore, to optimize the performance of their radio equipment.
- Electronic repair and testing: Electronics technicians rely on RF detectors to identify and fix issues with electronic devices that employ radio frequency signals, such as radios, TVs, or cell phones. This versatile tool helps ensure these gadgets stay in working order.
Safety Considerations
Working with an RF detector involves handling electromagnetic radiation, which can pose potential safety risks. Working with an RF detector comes with certain safety protocols. Ensure you are familiarizing yourself properly and following best practices to guard against potential hazards or risks.
- Avoid direct contact with the antenna: An RF detector's antenna is capable of acting as a receptor for radiofrequency radiation. Moreover, it potentially leads to potential exposure to electromagnetic fields. It is important to avoid touching or coming into direct contact with the antenna when the circuit is powered on.
- Use appropriate shielding: Shielding can help to protect against unwanted exposure to electromagnetic radiation. Using a metal enclosure or shielded cable can help to protect the circuit. Same as the user from exposure to RF radiation.
- Limit exposure time: Prolonged exposure to high levels of RF radiation can be detrimental to one's health. It is important to limit the amount of time spent near an RF source.
- Keep a safe distance: As a user gets nearer to the source of RF, their exposure to electromagnetic radiation intensifies. It is important to keep a safe distance from any RF source to reduce exposure.
- Follow manufacturer's instructions: Adhering to the manufacturer's guidelines is key in order to ensure optimal performance and secure operation of your RF detector. Taking a few extra precautions can make all the difference for reliable detection!
- Use personal protective equipment (PPE): In certain conditions, like when tackling high RF radiation or hazardous conditions, the best mitigation is to arm yourself with appropriate personal protective equipment. This could be anything from gloves and clothing to shield you against potentially damaging electromagnetic radiation.
Conclusion
To craft an effective RF detector, one must be well-versed in the properties behind electromagnetic transmission. Crafting a successful and precise device requires knowledge of its components as much as it does precision during assembly so that safety protocols are not neglected. Once built and tested, this handy tool will allow you to detect radiofrequency signals with ease - giving anyone seeking complete control over their environment! An RF detector can have a variety of applications, such as in wireless communication, security and surveillance, medical equipment, environmental monitoring, and electronic repair and testing. Working with RF detectors is convenient, but exposure to electromagnetic radiation does come at a safety cost. To protect against health risks associated with these devices, it's essential to abide by precautionary measures and follow recommended usage guidelines.

 NextPCB Capabilities
 PCB Assembly
 Layer Buildup
 SMD-Stencils
 PCB Design-Aid & Layout
 Mechanics
 Quality
 Drills & Throughplating
 Factory & Certificate
 PCB Assembly Factory Show
Certificate
PCB Assembly Factory Show
Certificate


 Surface

