Surface
Stacy Lu

 NextPCB Capabilities
Printed Circuit Boards
NextPCB Capabilities
Printed Circuit Boards
 PCB Assembly
 Layer Buildup
 SMD-Stencils
 PCB Design-Aid & Layout
 Mechanics
 Quality
 Drills & Throughplating
 Factory & Certificate
 PCB Assembly Factory Show
Certificate
PCB Assembly Factory Show
Certificate

Support Team
Feedback:
support@nextpcb.com


The PCB silkscreen layer contains the assembly information: component placement, orientation, and polarity, as well as identifiers, labels, and logos associated with each component. Clear and readable fonts are essential for silkscreens. This article covers the specifications, printing methods, and design requirements for silkscreen printing on printed circuit boards (PCBs).
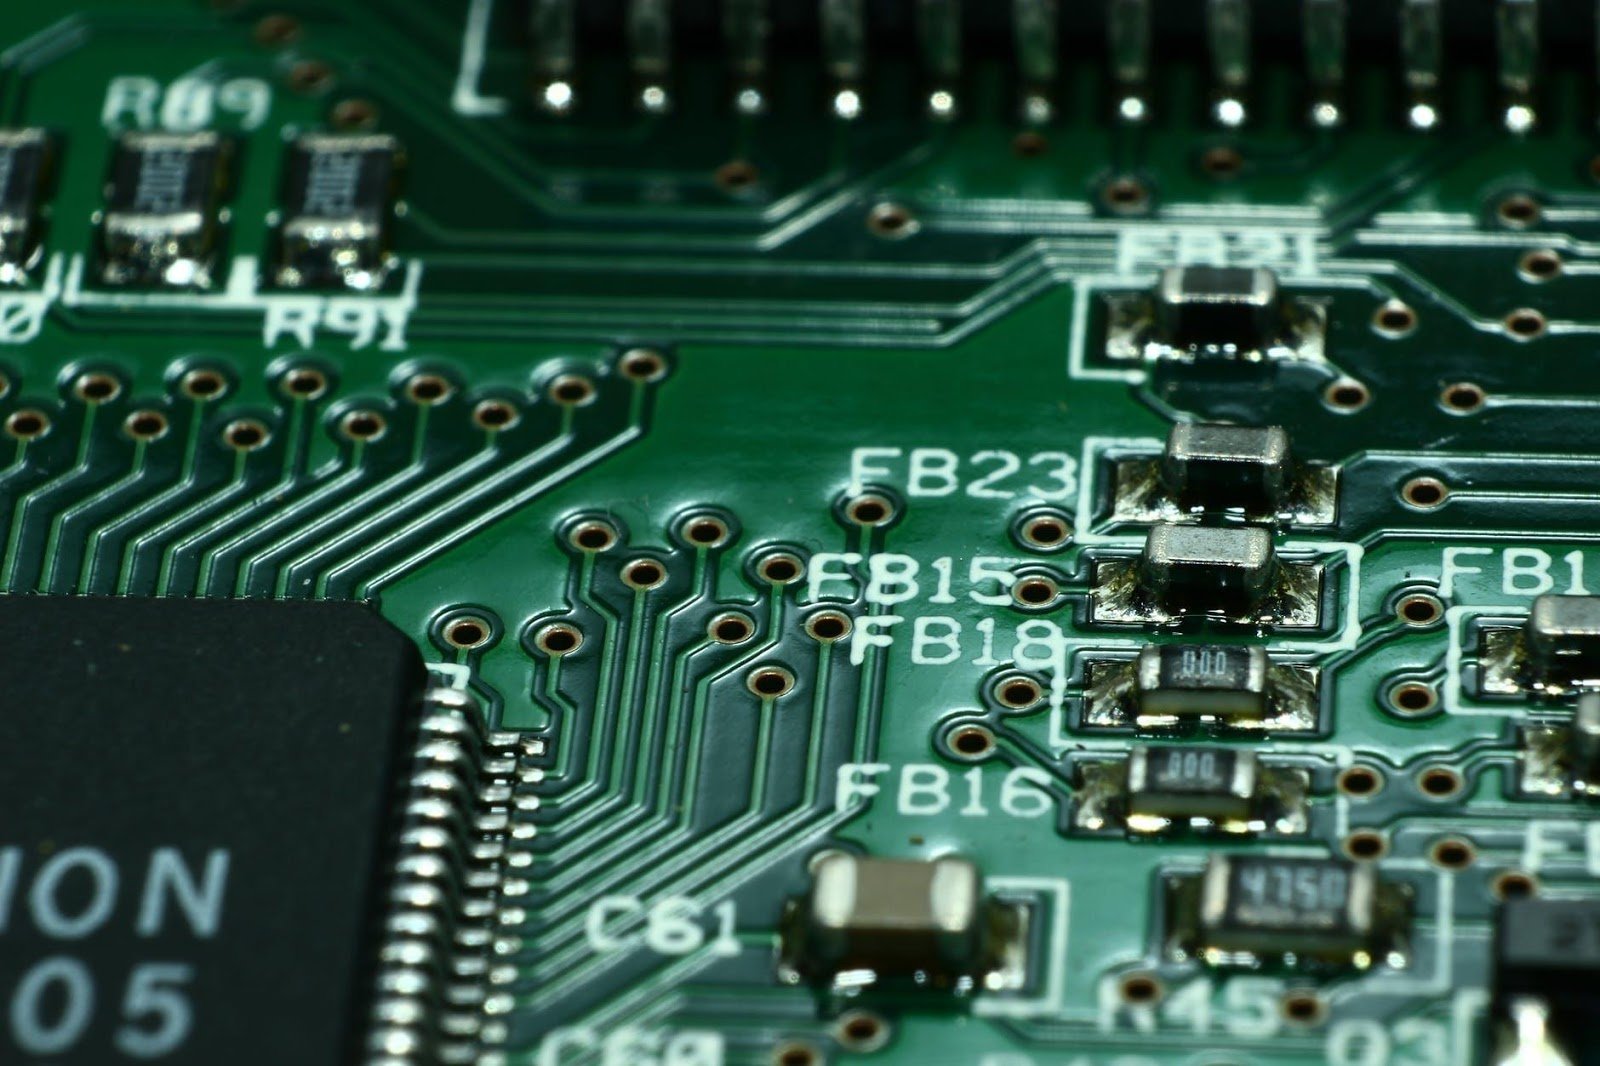
Silkscreen (also called silk screen printing or PCB legend printing) is the topmost printed layer on a PCB, used as a visual reference that shows where components go on the board. It prints text, symbols, and graphics onto the board surface -- component placement markings, part numbers, polarity indicators, and other assembly-critical data -- to support assembly and testing.
Silkscreen ink is typically a special resin formulated to resist heat and chemicals so the markings survive the soldering and assembly process. Silkscreen printing happens after the PCB has been etched and before surface-mount components are soldered, making it a distinct step within the broader PCB fabrication process.
There are three common approaches to putting a legend on a PCB. The table below compares them at a glance, with details underneath.
| Method | How It Works | Resolution / Detail | Relative Cost | Best Suited For |
|---|---|---|---|---|
| Manual (traditional) screen printing | Hand-cut or emulsion-coated stencil; ink is pushed through the screen onto the board | Good, operator-dependent | Low | Small-scale or lower-volume projects |
| Photographic method (LPI-style) | Photosensitive emulsion exposed to UV light through a film positive, similar to the solder mask process | High resolution, better fine-line detail | Medium | High-volume production needing consistent precision |
| Direct legend printing | Inkjet printer applies acrylic ink directly to the board surface using CAD-driven artwork, no stencil required | Excellent detail and resolution | Highest | High-quality boards; less suited to complex multilayer geometries the printhead can't reach |
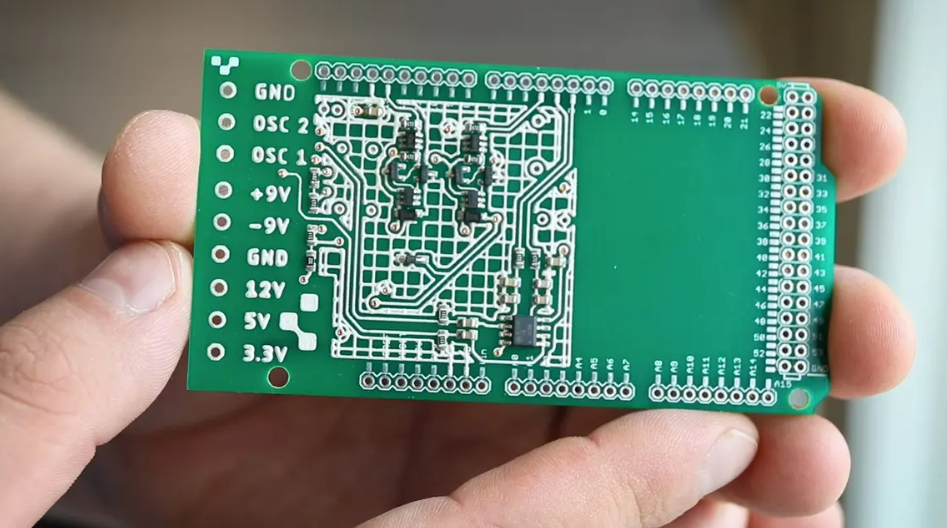
In this traditional method, a stencil is created by hand-cutting unprinted areas with a sharp blade, or by coating a screen with photosensitive emulsion, exposing it to light, and washing away the unexposed emulsion. An ink-filled screen is then applied to the board, and ink passes through the stencil openings. This method suits small-scale projects where extremely high accuracy isn't required, and it gives the operator more direct control over the print.
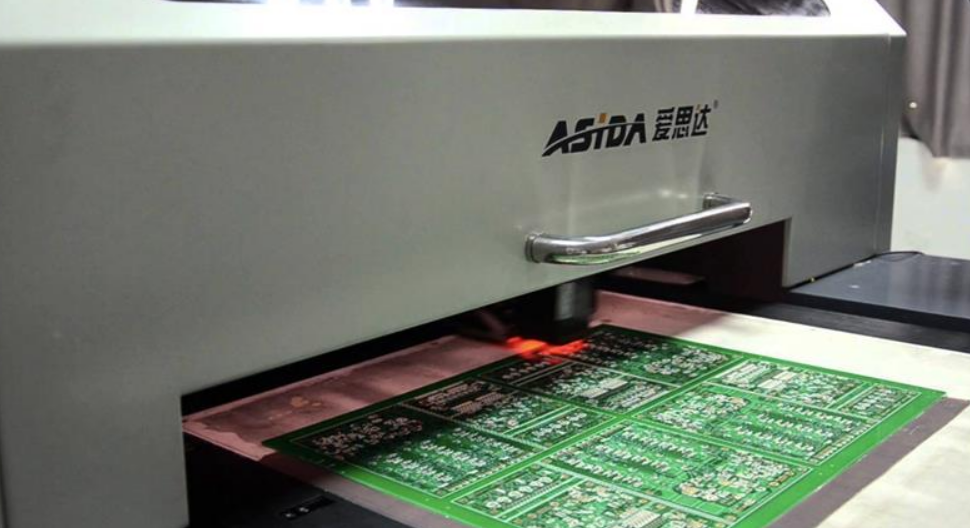
This method exposes a photosensitive emulsion to a light source, hardening it everywhere except where the film positive blocks the light -- similar to the solder mask application process. It typically suits line widths greater than 4 mm and offers higher resolution and better detail than manual printing, at the cost of more ink usage and longer setup time. It's a common choice for high-volume PCB operations that need repeatable precision.
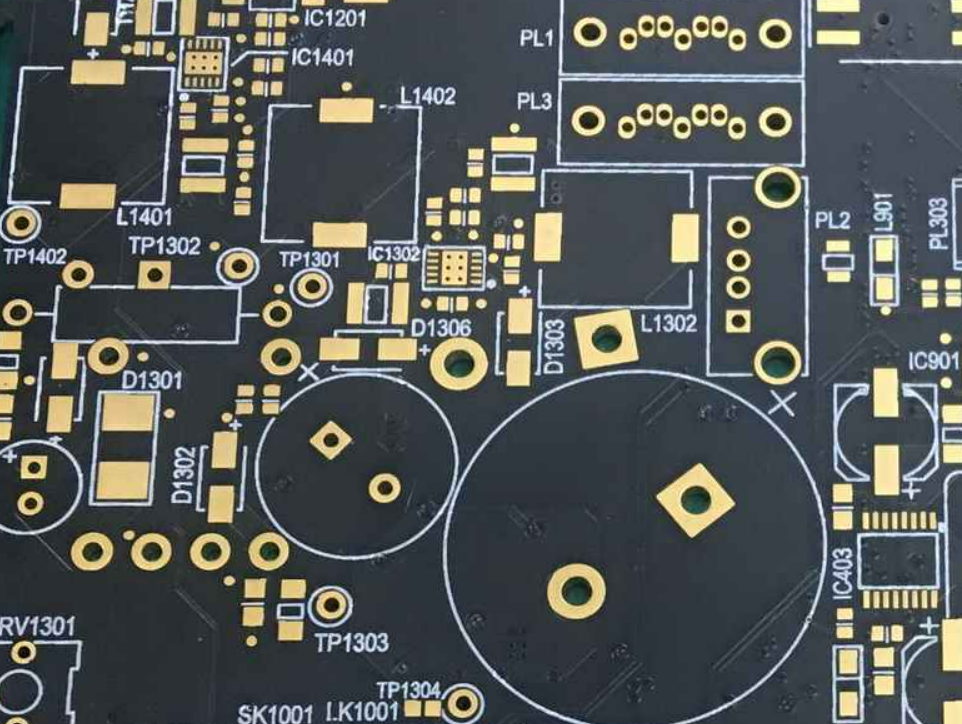
Direct legend printing uses an inkjet printer with acrylic ink to print the legend directly onto the PCB from CAD data, without a stencil. It offers excellent detail and resolution, making it a strong choice for high-quality boards, but it is typically the most expensive of the three methods. Its main limitation is reach: the printhead may not access every area on complex or multilayer boards, and the acrylic ink can be less durable over time than traditional screen-printed ink.
Minimum legible character size depends on the printing method and, for silkscreen (printed) characters, on copper thickness. The table below reflects NextPCB's verified manufacturing specifications.
| Character Type | Copper Thickness | Min. Line Width / Character Height | Notes |
|---|---|---|---|
| Character color | -- | White or black | Other colors (e.g., yellow) require process review before approval |
| Etched characters | -- | ≥ 4 mil / 25 mil | See annotated diagram below |
| Silkscreen (printed) characters | 1 oz (35 µm) | ≥ 5 mil / 30 mil | If the silkscreen area is flat with no step or height difference, the minimum limit applies |
| 2 oz (70 µm) | ≥ 7 mil / 42 mil | ||
| 3 oz (105 µm) | ≥ 12 mil / 50 mil | ||
| Inkjet-printed characters | -- | 0.075 mm / 0.6 mm (width / height) | Direct legend printing method |
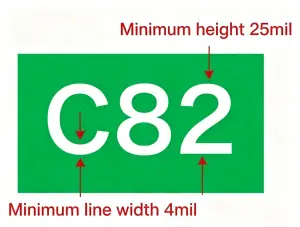
As a rule of thumb: heavier copper weights need proportionally larger silkscreen characters to print cleanly, since thicker copper creates a bigger step for the ink to bridge. If your design uses 2 oz or 3 oz copper, budget more board space for reference designators than you would on a standard 1 oz board.
| Guideline | Requirement |
|---|---|
| Placement | Position silkscreen in an easily visible, accessible area. Avoid placing it under components or where other parts obstruct it. |
| Text clarity | Keep text clear, concise, and legible, at a size large enough to read easily and free of typos. |
| Color selection | Choose a silkscreen color that contrasts well with the board's background color for visibility. |
| Minimum line width | Follow the verified character specifications above; keep line widths consistent across the entire silkscreen area. |
| Font consistency | Use one consistent font throughout the board for legibility and a clean appearance. |
| Layer separation | Keep silkscreen on its own layer, separate from other PCB elements, so it stays visible and legible even if other elements shift. |
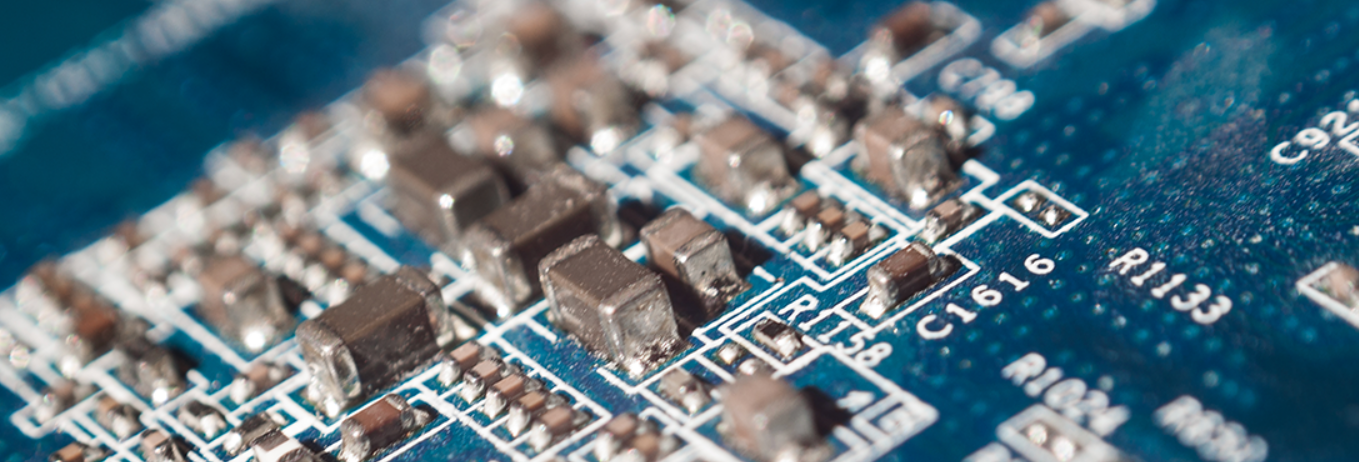
Silkscreen printing has been a core PCB manufacturing step for decades, and several recent developments continue to improve its quality and efficiency:
Before choosing a silkscreen approach for your PCB, consider the following:
| Factor | What to Consider |
|---|---|
| Printing requirements | Circuit size, number of layers, and desired visual appearance |
| Ink type | Required electrical properties, environmental resistance, and cure time |
| Stencil type | Circuit complexity, desired accuracy, and print speed |
| Equipment compatibility | Whether the printing method suits your PCB and stencil material |
| Cost | Equipment, ink, and consumables cost against your project budget |
| Lead time | Processing time per layer and overall schedule impact |
| Repeatability | Consistency of results across multiple printed boards |
Silkscreen (also called silk screen printing or legend printing) is the topmost printed layer on a PCB. It shows component placement, part numbers, polarity markings, and other assembly reference information printed directly on the board surface.
Silk screen printing is the manufacturing process used to apply the silkscreen legend to a PCB, typically using heat- and chemical-resistant resin ink applied through a stencil, a photographic (LPI-style) process, or direct inkjet printing.
Minimum size depends on the method and copper thickness. Etched characters require at least 4 mil line width and 25 mil height. Printed silkscreen characters need at least 5/30 mil on 1 oz copper, 7/42 mil on 2 oz copper, and 12/50 mil on 3 oz copper. Inkjet-printed characters require a minimum width of 0.075 mm and height of 0.6 mm.
White and black are the standard silkscreen colors. Other colors, such as yellow, are possible but require process review before they're approved for production.
Printing silkscreen ink directly on a component pad reduces the pad's solderability, which can cause weak or unreliable solder joints during assembly.
PCB silkscreen affects the overall quality, assembly accuracy, and long-term serviceability of your board, and getting the character specifications and placement rules right the first time avoids costly rework. NextPCB provides the full range of PCB design and manufacturing solutions, including silkscreen printing to the verified specifications above. Feel free to contact us or request a quote at any time.
> Recommended reading: PCB Manufacturing Basics: Design, Fabrication, Testing, and Compliance

Still, need help? Contact Us: support@nextpcb.com
Need a PCB or PCBA quote? Quote now