
 NextPCB Capabilities
Printed Circuit Boards
NextPCB Capabilities
Printed Circuit Boards
 PCB Assembly
 Layer Buildup
 SMD-Stencils
 PCB Design-Aid & Layout
 Mechanics
 Quality
 Drills & Throughplating
 Factory & Certificate
 PCB Assembly Factory Show
Certificate
PCB Assembly Factory Show
Certificate
Support Team
Feedback:
support@nextpcb.com


You may want to think about utilizing Arduino to build a PCB and prototype your idea for three important reasons. The simplicity with which Arduinos can be used is the first factor. No matter how big or little your project is, ease of use is crucial for the whole product development lifecycle. The simplicity of use will lower your expenses and reduce technical issues.
The fact that Arduino is a totally open-sourced architecture means you never have to worry about obstructed rights, rules, code, or hardware, which is another significant factor making Arduino excellent for converting into PCBs.
Finally, because Arduino boards are so affordable, you won't have to worry about testing out your initial prototypes or launching the final assembly of your product.
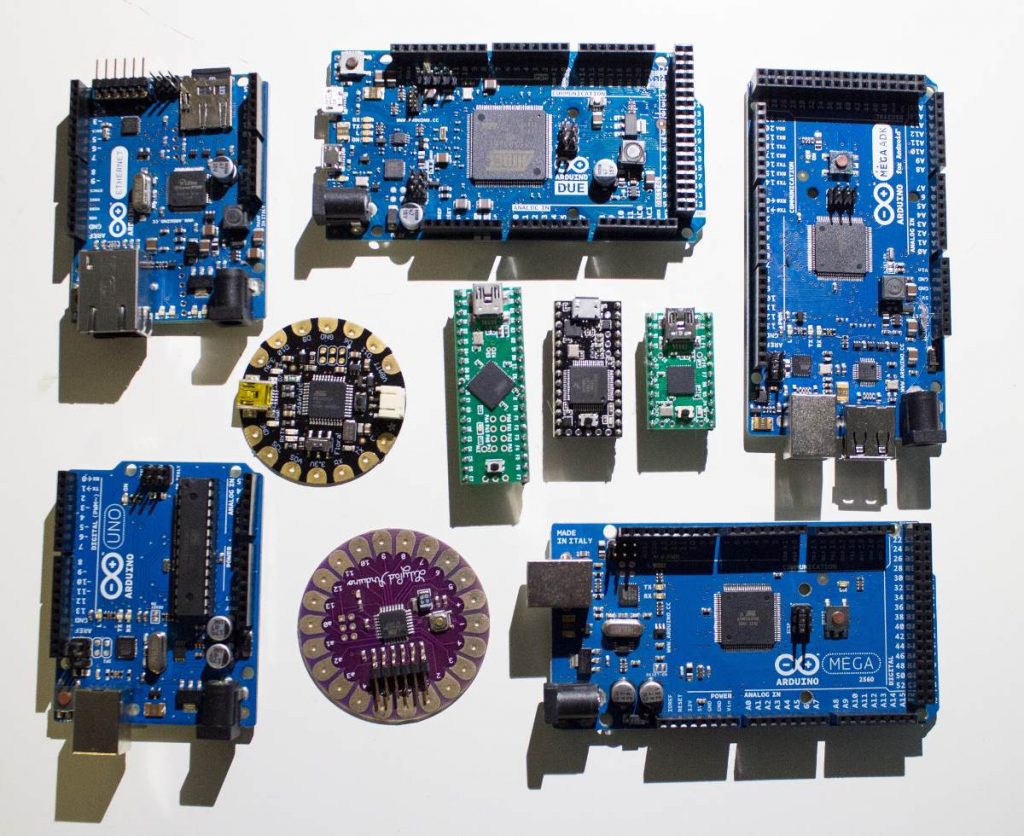
An Arduino is an open hardware development board. That makers, hobbyists, and inventors can use to create and construct objects that interact with the physical environment. While "Arduino" refers to a particular type of board design, it can also be used to describe a business that produces a particular version of these boards. It is also frequently used to refer to the community surrounding compatible boards produced by other people or businesses that perform similarly.
The circuit board of an Arduino contains a variety of parts that interface with one another. Over time, the layout has changed, and some variations now include additional components.
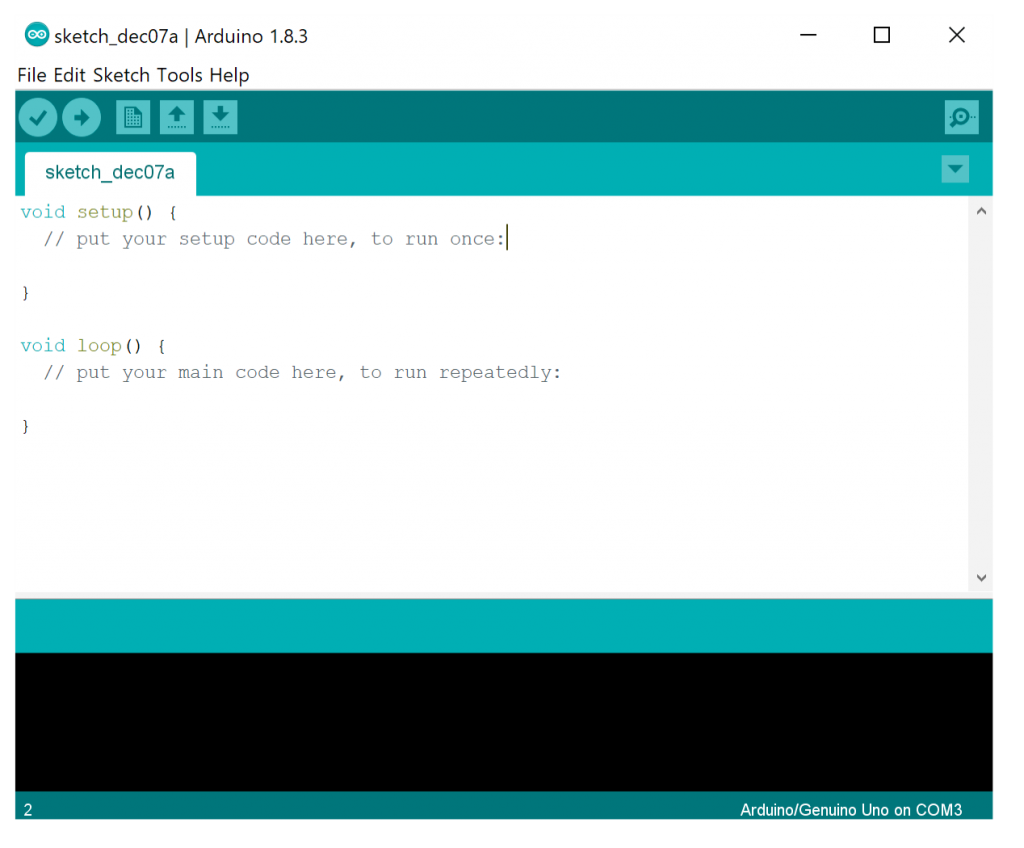
The majority of Arduino enthusiasts will opt to use the official integrated development environment (IDE) for the Arduino, particularly when they first start off. The Arduino IDE is free software that is written in Java and may be used with Windows, Mac, and Linux computers. You may write code in a unique environment with syntax highlighting and other features thanks to the IDE, which will make writing simpler.
For industrial applications, the product should be precise, and more efficient. So when considering the Arduino Development Kit, it has many drawbacks when comes to industrial applications due to the power consumption and size of the board.
The size of a development kit like an Arduino makes it another drawback to integrating one into your product. An Arduino is fairly huge, and its modest size was never a top focus throughout the design.
For instance, it is evident that these kits are completely useless if your product is a smartwatch. Try putting an Arduino in a watch, good luck! In fact, I'd estimate that these kits are too big for about 80% of goods. They are likely to be huge and have features or functions that you don't need in addition to their size. These characteristics could greatly enhance their size. With the consideration of the above advantages, it is clear that Arduino is more advantageous to developers.
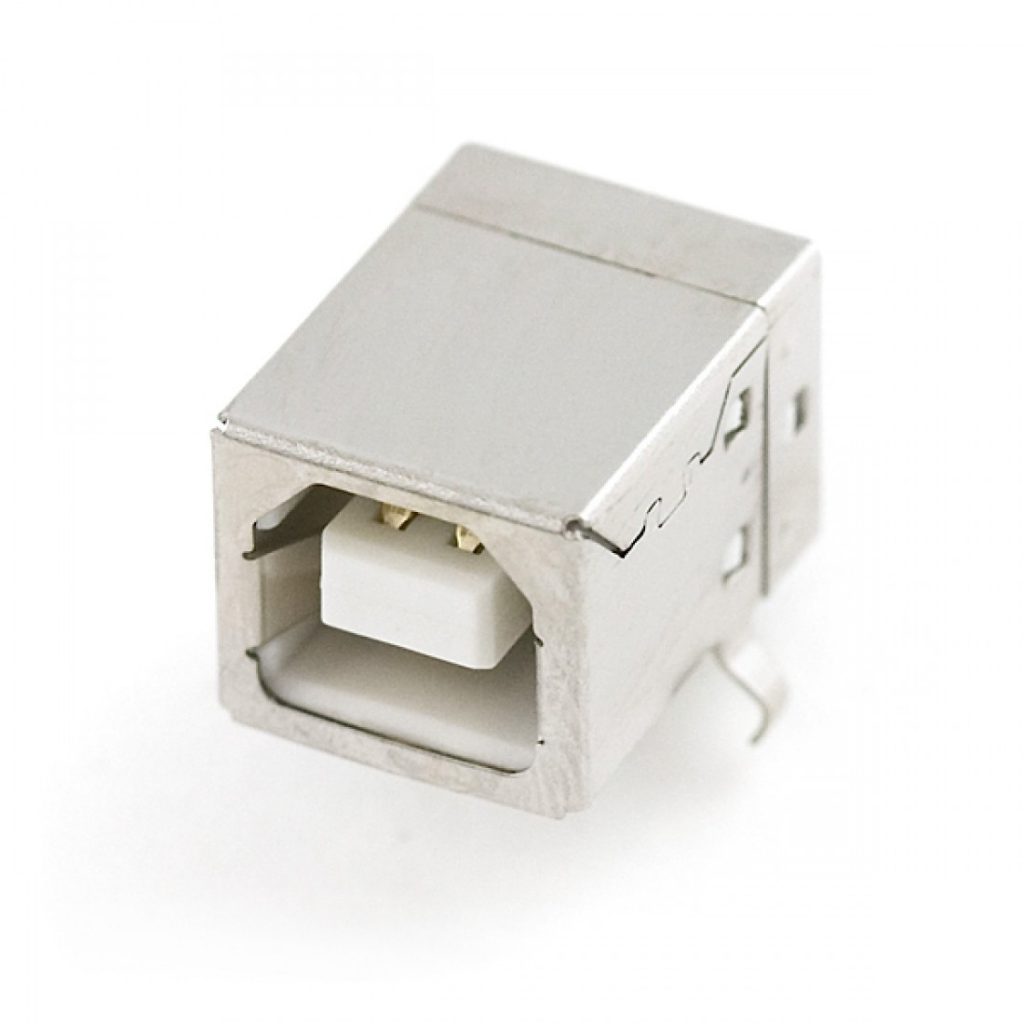
A compact MicroUSB connector, for instance, would be preferable to an Arduino Uno's huge USB type-B connector.
You are better off without the extra size and weight that these features bring to any product if you don't need them for your own.
Any extra features not only raise the price and size of your goods but also use more power. If the product gets power from an external power source, this is not crucial. But for battery-powered items, it becomes crucial. For instance, the Arduino Uno's USB-to-UART chip can utilize an additional 20mA of current when it is functioning. This can significantly reduce the battery life of a device powered by a small battery.
Let's explore the stages involved in the conversion of an Arduino prototype to a PCB in more detail. This process undergoes 6 main steps and it will make you understand the process easily.
Your microcontroller schematic is the first factor to take into account when planning your initial product development phase. You should ideally utilize an open-source design that won't unduly complicate the development process or increase prices as a result, which is why your choice of microcontroller circuit is so crucial.
Simply using the microcontroller that your preferred Arduino model uses is the safest, simplest, and cheapest option for product development, engineering, and manufacturing purposes because adopting an open-source architecture is so important to production practicality.
Your hardware and software architecture will be as simple to use and, thus, less expensive to design if you stick with the same microcontroller as your preferred Arduino model. The open-source Arduino schematic may actually be copied and deployed using the same design, and because Arduino is open-source, the process of developing software and hardware is also made simpler overall.
Your Arduino shield is a pre-assembled circuit board that gives your basic Arduino board extra functionality. For you, the product creator, Arduino shield add-ons are unquestionably one of the most crucial characteristics, and there is a virtually limitless selection of potent Arduino shields that you can utilize!
Always keep in mind that Arduino is open-source, making it very simple for you to work from the existing schematic circuit per any Arduino shields that you wish to use.
Using different shields to create the ideal result looks like a brilliant idea! Naturally, you'll need to design more schematics the more shields you utilize. Additionally, keep in mind that not all Arduino shields are similar, due to their extremely open-sourced nature. Some Arduino shields could be extremely difficult to use, while others might be incredibly simple.
Be sure to keep in mind that numerous Arduino shields utilize various serial connections while the project is developing. Even while Arduino shields are making with the concept to be simple to use. There is undoubtedly some developmental fluctuation, therefore it is necessary to do your research to assure compatibility.
With the Arduino Ethernet Shield 2, you can quickly connect your Arduino to the internet. To begin controlling your environment over the internet, simply plug this module into your Arduino Board. Link it to your network with an RJ45 cable and carry out a few easy procedures. Every component of the platform, including the hardware, software, and documentation, is open-source and free to use.
The Arduino GPS shield is a breadboard with a GPS module for a GPS receiver that has an SD card. It is simple to use for saving position data to an SD card.
You can simply control the direction and speed of a motor using an Arduino and the Arduino Motor Shield. It is incredibly easy to include a motor in your project because it lets you easily address Arduino pins.
To create a user-friendly interface that enables users to display what they want and make selections, among other things, the LCD Keypad Shield is an Arduino-compatible board. It has an LCD with 1602 white characters and a blue backlight. Five keys make up the keypad: select, up, right, down, and left. Only one ADC channel is used by the keypad interface in order to conserve digital IO pins (AD0). A five-stage voltage divider reads the key value.
There are headers for the remaining 3 electrode connections in addition to the touch shield's 9 capacitive touch pads. You can have a total of 12 touch-sensitive buttons with this shield. It is compatible with both 3.3V and 5V Arduino boards thanks to an onboard logic level converter. For a convenient input device, simply stack it onto your Arduino and solder on some header pins.
Your Arduino can access the internet wirelessly with to the Arduino WiFi Shield. Follow a few easy steps to connect it to your wireless network and start using the internet to control your surroundings.
Once you're happy with the prototype's architecture, it becomes sensible to move on to thinking about the real PCB (printed circuit board). As you may know, since Arduino is open-source, you have simple access to the board's schematic and those of any Arduino shields. However, there's a very significant probability that you'll need to modify your PCB to the particular design, purpose, and requirements of your prototype.
Always ask yourself what special requirements can aid to make or break an optimal design while you create your PCB. What particulars can have an impact on performance depending on how your end customers want to use the device? Pay great attention to which Arduino shields, if any, call for particular considerations, such as placement or position.
For instance, if your prototype has a Wi-Fi or GPS antenna, be sure to position the shields such that your gadget has the best connectivity possible! If your prototype calls for the usage of an LCD, place it where it will be most convenient for your end-user to reach it. Plan for this if your prototype takes temperature readings or needs user input of any kind to ensure that your PCB design is efficient and useful.
These small distinctions and critical considerations are crucial, and they can make or break the PCB and overall prototype design! If a product's usability, end-user experience, and convenience of use are your top priorities, then pay close attention to the PCB layout's minute elements. Nothing is more aggravating than a great idea that is badly implemented, so pay attention to the small things
One of the most thrilling phases of the entire product lifecycle is unquestionably placing the initial order for your PCB prototype. Your tireless labor, ingenuity, and passion are about to pay off! Different PCB manufacturers offer different sizes. Other manufacturers offer production and soldering, while some manufacturers just produce blank PCBs. For your Prototype design, you can get a high-quality service by contacting us.
It's time to code the firmware and software so your gear can communicate the way you want it to now that it is ready to go! Since you're working with an open-source microcontroller architectural family that you or your development team should be extremely familiar with, this approach should be fairly straightforward.
No matter how careful you and your team are, mistakes will be made and issues will arise in the early stages of your product's development lifecycle. Testing throughout these early development phases is key for you, your prototype, and your final product, which is why it is so important to thoroughly test your hardware, software, and firmware design.
Never let bugs in the early stages of development get you down. You can easily pull off this amazing feat if you prepare for and even anticipate issues. In order to finally test your thoughts and determine what works and what doesn't, don't be scared to prototype your ideas.
Your fantastic product concept has successfully been developed from the ground up through an Arduino prototype and into a finished product. Congratulations!
One of the greatest solutions for your product prototype is Arduino. You can be confident that Arduino are best in many cases because they are affordable, simple, and open source.
It's really important to work with open-source architecture! The use of open-source architectures helps make your product's development straightforward and your project inside budget.
Although an Arduino-based design is not always the ideal choice for every product—for instance, if your product needs a very fast processor—it is one of the most effective ways to develop a Proof-of-Concept (POC) prototype rapidly and affordably for the majority of new electrical devices.
Before you start investing a lot of money in bespoke development, you should always try to construct something as quickly and inexpensively as you can and then get it in the hands of potential clients for feedback.
Still, need help? Contact Us: support@nextpcb.com
Need a PCB or PCBA quote? Quote now


 Surface

