
 NextPCB Capabilities
Printed Circuit Boards
NextPCB Capabilities
Printed Circuit Boards
 PCB Assembly
 Layer Buildup
 SMD-Stencils
 PCB Design-Aid & Layout
 Mechanics
 Quality
 Drills & Throughplating
 Factory & Certificate
 PCB Assembly Factory Show
Certificate
PCB Assembly Factory Show
Certificate
Support Team
Feedback:
support@nextpcb.com


If you want to delve into the world of electronics as an aspiring inventor, Arduino is a great place to start. It provides accessible hardware components and an easy-to-learn coding language that allows you to create projects like voice recognition systems, obstacle sensors for robots, and customized speakers for DJ mixing. This blog post will cover the basics of using Arduino for creative projects. Let's start the project- Arduino Speaker!
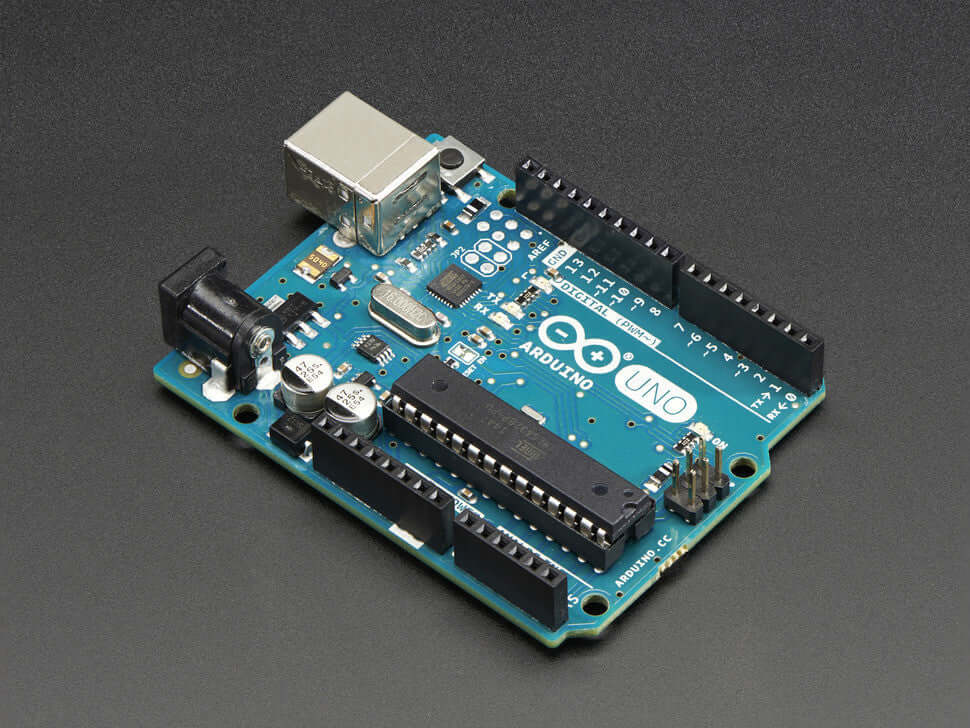
Arduino is a platform that allows you to create various electronic projects. It's an open-source microcontroller, and you can use it to make audio projects like driving a speaker. Many people like Arduino because it's affordable, easy to use, and can connect with different sensors and actuators.
The microcontroller in an Arduino speaker project produces an electrical signal that is transformed into sound waves by a speaker. There are different ways to generate the signal such as using the tone() function, PWM, or toggling a digital output pin on and off.
Arduino speaker projects have a wide range of complexity, from generating simple beeps to creating complex audio effects or complete sound systems. You can use these projects for various applications, such as creating an alarm system, playing music, or providing audio feedback for a user interface.
To start your Arduino speaker project, gather an Arduino board, a speaker with 8 ohms or higher impedance, and simple circuitry for filtering and amplifying the signal. Even if you have no prior experience, there are numerous online resources and tutorials to guide you through creating an Arduino speaker project.
There are different kinds of speakers that work well with Arduino, such as those that are compatible with its
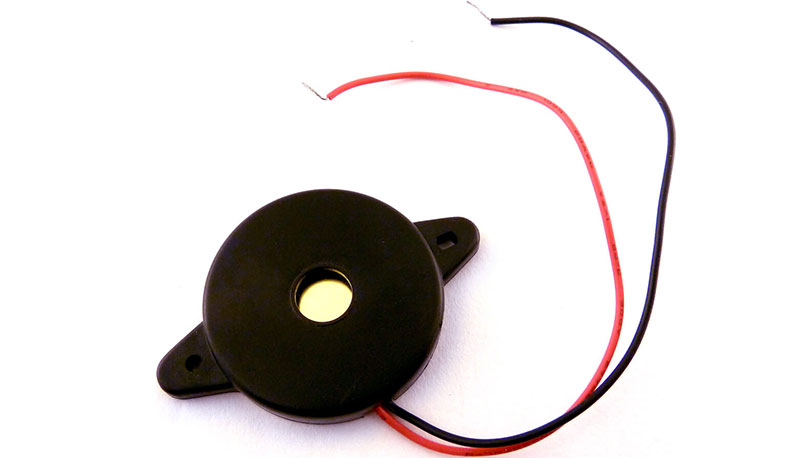
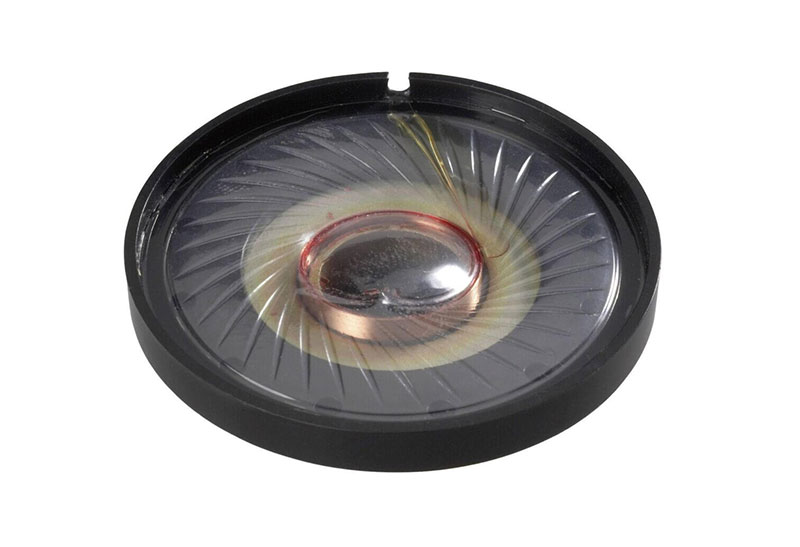
To choose a speaker for your Arduino project, you should think about its power needs, impedance, and sound quality. Make sure that the speaker works with the voltage and current output of the Arduino board so that you do not harm the parts.
To produce good sound from an Arduino speaker, you need to filter and amplify the electrical signal generated by the board. Check out this circuit diagram for a basic Arduino speaker project.
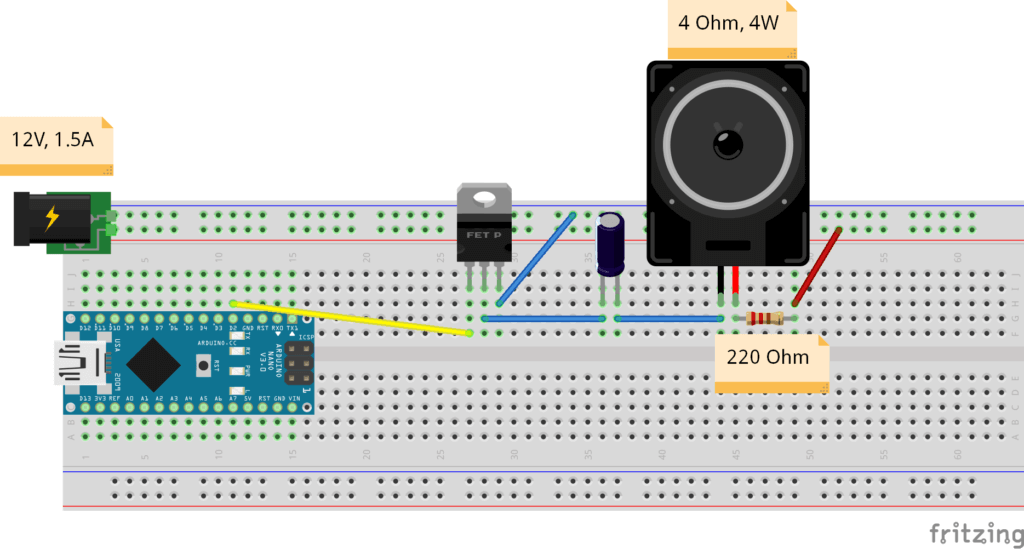
The circuit involves connecting the speaker to an Arduino output pin using a capacitor and a resistor. The capacitor is responsible for blocking the DC part of the signal, while the resistor serves to limit the current flow through the speaker. To suit the speaker's impedance and optimize performance, you can adjust the values of these components.
The signal passes through the transistor to amplify and drive the speaker. The signal from the Arduino pin controls the transistor, which acts as a switch to amplify and drive the speaker. When the transistor switch is on, it enables the current to pass through the speaker, which in turn generates sound waves. The resistor limits the current flowing through the transistor and ensures that it operates properly in the saturation region. You can customize this simple circuit to fit the needs of different speaker projects. You can add extra elements like op-amps, filters, and volume controls to improve sound quality.

By generating a square wave with a specific frequency and duration, the tone() function of the Arduino is possible to utilize to make a speaker produce sounds. Therefore, you can make various tones and sounds with it. Below is a code example for generating a basic tone using the tone() function.
int speakerPin = 8; // define the speaker pin

int frequency = 1000; // set the frequency in Hertz

int duration = 1000; // set the duration in milliseconds

void setup() {

  pinMode(speakerPin, OUTPUT); // set the speaker pin as output

}

void loop() {

  tone(speakerPin, frequency, duration); // generate the tone

  delay(1000); // wait for one second

}
This code generates a sound using the tone() function which takes in three arguments. These arguments are the speaker pin, the frequency in Hertz and the duration in milliseconds. In order to generate the desired sound, the code sets the speaker pin as an output and produces a tone of 1000 Hz that lasts for 1000 milliseconds.
The code then waits for one second before generating the next tone.
To create different tones and sounds, adjust the values of the frequency and duration variables. For instance, you can use a loop to call the tone() function with varying frequency and duration values for a simple melody.

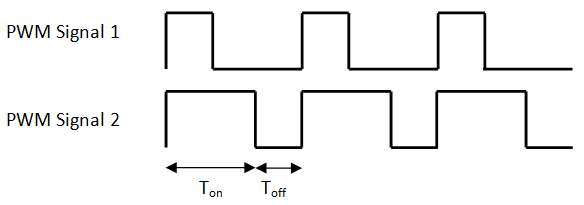
In Arduino, Pulse Width Modulation (PWM) is a method to create analog signals using digital output pins. The technique changes the signal pulse width while maintaining a constant frequency. Generating audio output is one application of PWM because it can create an analog-like signal that is capable of powering a speaker.
To use PWM for audio output in Arduino, you can use the analogWrite() function to output a PWM signal to a speaker. Here is an example code for generating a simple audio signal using PWM:
int speakerPin = 8; // define the speaker pin

int frequency = 1000; // set the frequency in Hertz

int volume = 128; // set the volume level (0-255)


void setup() {

  pinMode(speakerPin, OUTPUT); // set the speaker pin as output

}

void loop() {

  analogWrite(speakerPin, volume); // output a PWM signal to the speaker

  delayMicroseconds(500000/frequency); // wait for half a period

  analogWrite(speakerPin, 0); // stop the PWM signal

  delayMicroseconds(500000/frequency); // wait for half a period
}
The code uses the analogWrite() function to generate sound on the speaker pin with a volume level of 128, which is halfway between the minimum and maximum values. Therefore, a PWM signal with a frequency of 1000 Hz is generated using the delayMicroseconds() function. To create a square wave, the code waits for half a period of the signal before stopping the PWM signal and waiting for another half period.
You can modify the values of the frequency and volume variables to generate different audio signals. However, note that the quality of the audio output using PWM is limited by the resolution of the digital output pins and the speaker impedance. To achieve higher-quality audio output, you may need to use external components such as op-amps and filters.
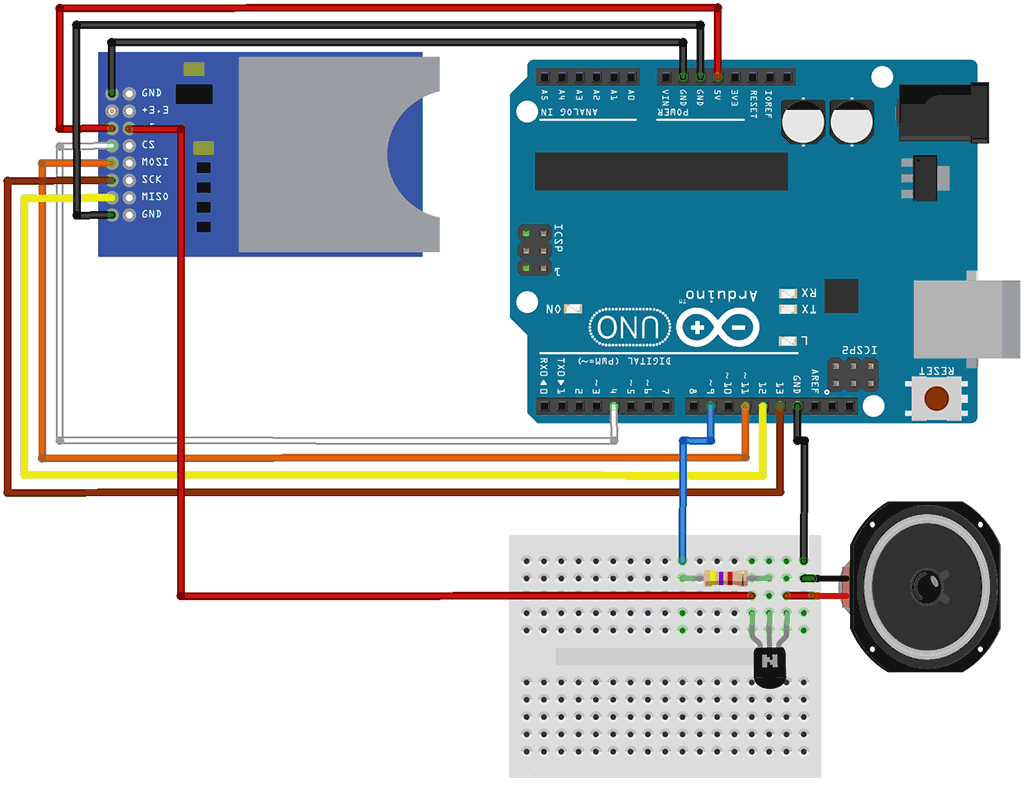
To play music and sounds from an SD card with Arduino, you'll need a sound module and an SD card module. Then connect the sound module to a speaker for audio output and use the SD card module to store the audio files. Here's an example code for playing a sound file from an SD card using Arduino.
#include#include #include TMRpcm sound; // create an instance of the TMRpcm class void setup() { Serial.begin(9600); // initialize the serial communication sound.speakerPin = 9; // set the speaker pin SD.begin(4); // initialize the SD card module sound.setVolume(6); // set the volume level (0-7) } void loop() { if (SD.exists("sound.wav")) { // check if the sound file exists on the SD card Serial.println("Playing sound..."); // print a message to the serial monitor sound.play("sound.wav"); // play the sound file while (sound.isPlaying()) {} // wait for the sound to finish playing Serial.println("Sound finished."); // print a message to the serial monitor } else { Serial.println("Sound file not found."); // print an error message to the serial monitor } delay(5000); // wait for 5 seconds }
This code uses the TMRpcm library to play an audio file. Supported formats include WAV and MP3. The code checks if the file exists on the SD card using the SD.exists() function. Furthermore, if it does exist, a message is printed to the serial monitor, and the file is played using sound.play(). After that, the codes then waits for the sound to finish playing using a while loop. If the file does not exist, an error message is printed on the serial monitor.
You can modify the code to play different sound files and adjust the volume level using the sound.setVolume() function. Additionally, you can use buttons or sensors to trigger the playback of different sound files or to control the playback volume.
If you're working on Arduino speaker projects, you may encounter issues that can result in audio malfunction or no audio output at all. Therefore to troubleshoot these common issues, I have some tips for you.
Finally, Arduino speaker projects provide an enjoyable and interactive means of delving into the domains of electronics and audio. By utilizing different libraries and modules, individuals passionate about Arduino can conveniently generate and modify their audio projects, ranging from basic tone creation to playing music and sound through an SD card. Possessing the knowledge of fundamental circuitry and features like tone(), PWM, and the utilization of SD card modules can aid in the production of an array of exhilarating audio projects. Knowing how to troubleshoot common issues can ensure proper audio output in Arduino speaker projects. These projects provide a creative and rewarding way to combine electronics, programming, and audio for learners of all levels.
Still, need help? Contact Us: support@nextpcb.com
Need a PCB or PCBA quote? Quote now


 Surface

